Clay Sculpting Tools for Beginners (Complete Guide)
Introduction
When I first got into clay sculpting, I thought I needed a full professional tool kit to even get started. Loop tools, ribbon tools, calipers, textures… It felt like a lot. It slowed me down more than it helped.
Here’s the truth. You don’t need many tools to start sculpting. In fact, some of the best progress I made came from using just a few simple tools and really learning how to use them.
Clay sculpting tools are meant to help you shape, refine, and understand form. Not replace your observation skills. Whether you’re working in water based clay, oil based clay, or even polymer clay, the right tools can make a big difference once you know what each one is doing.
In this guide, we’ll break down the essential clay sculpting tools for beginners, how to use them, and what you can safely ignore at the start. Keep it simple.
The Only Tools You Really Need to Start
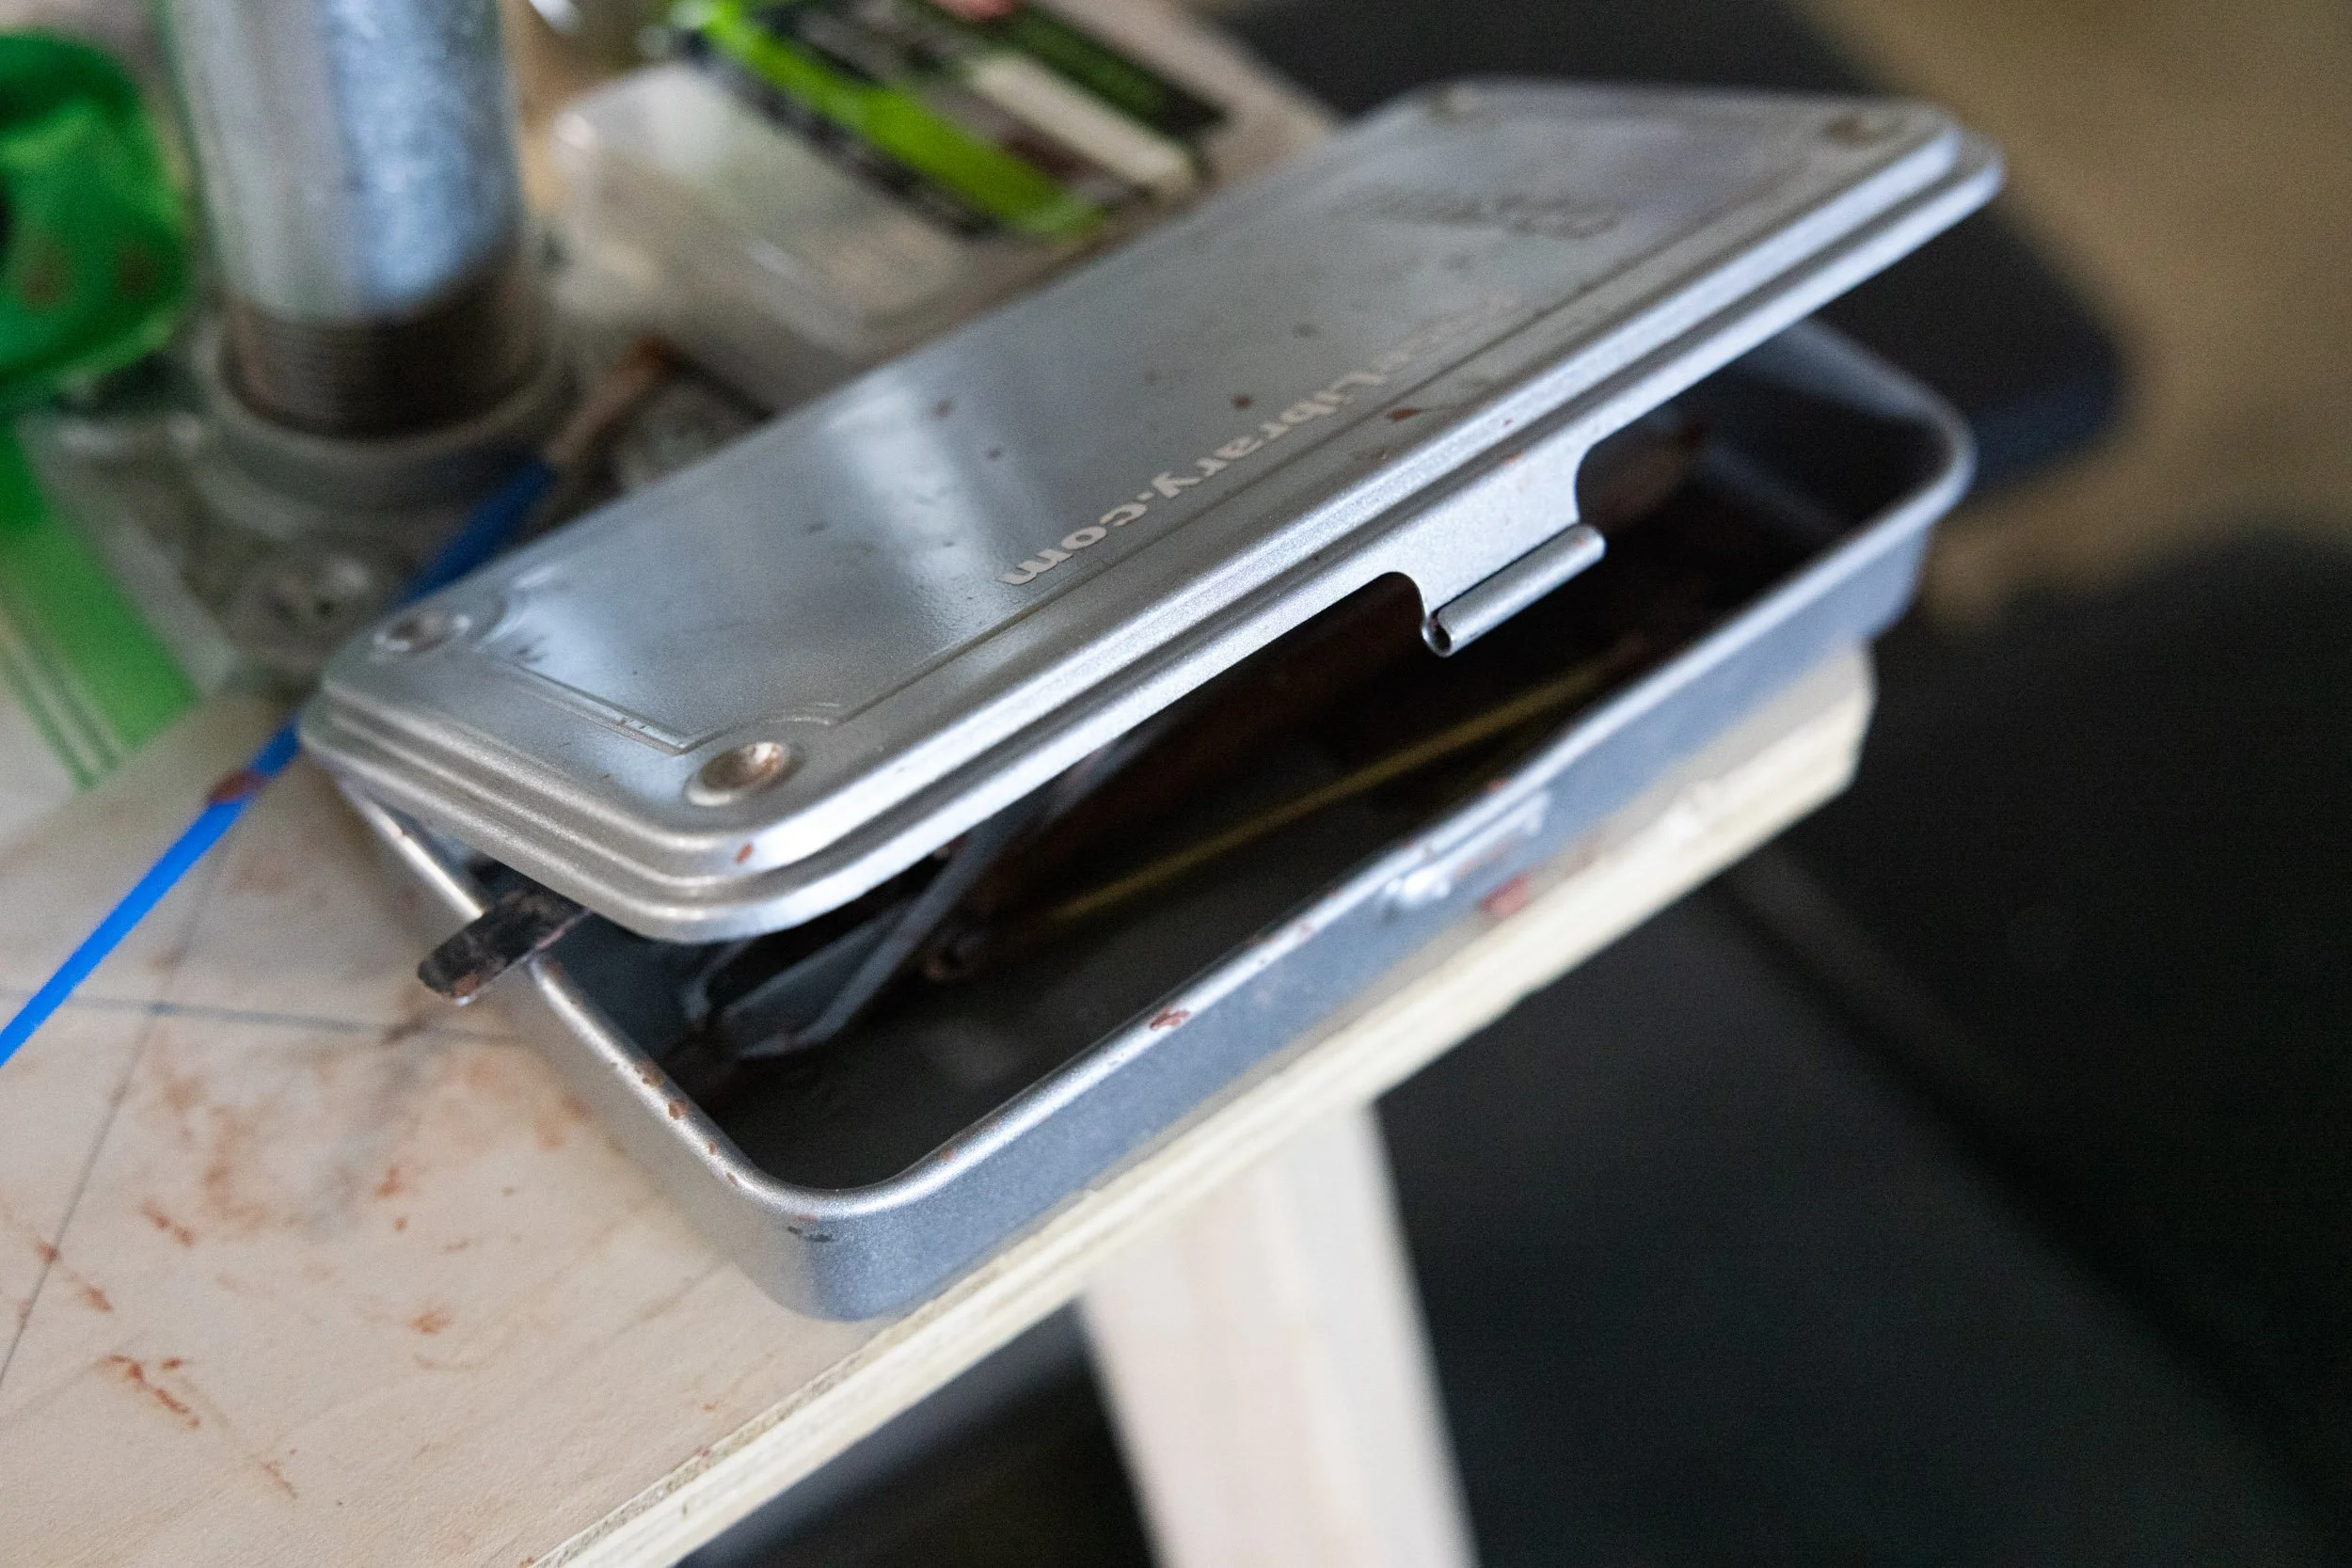
This is really all you need to get started. Just your hands and a simple craft knife can take you surprisingly far in clay sculpting. Focus on learning how to shape form, make clean cuts, and understand proportions before adding more tools. It’s easy to think you need a full sculpting kit, but that usually just creates distraction. Start simple, build your skills first, and then add tools later when you actually know why you need them.
Your hands (most important tool)
Best for blocking in forms and understanding volume
Helps you feel proportions and transitions
Great for blending and keeping the sculpture loose
Prevents overworking and stiffness
Craft knife (simple and versatile)
Use for lightly sketching into clay
Helps define planes and structure
Useful for trimming and cleaning edges
Keep cuts light, avoid digging too deep
Calipers ( add later)
Used to measure and check proportions
Helpful for head and figure accuracy
Not needed at the beginning
More useful once you start refining your work
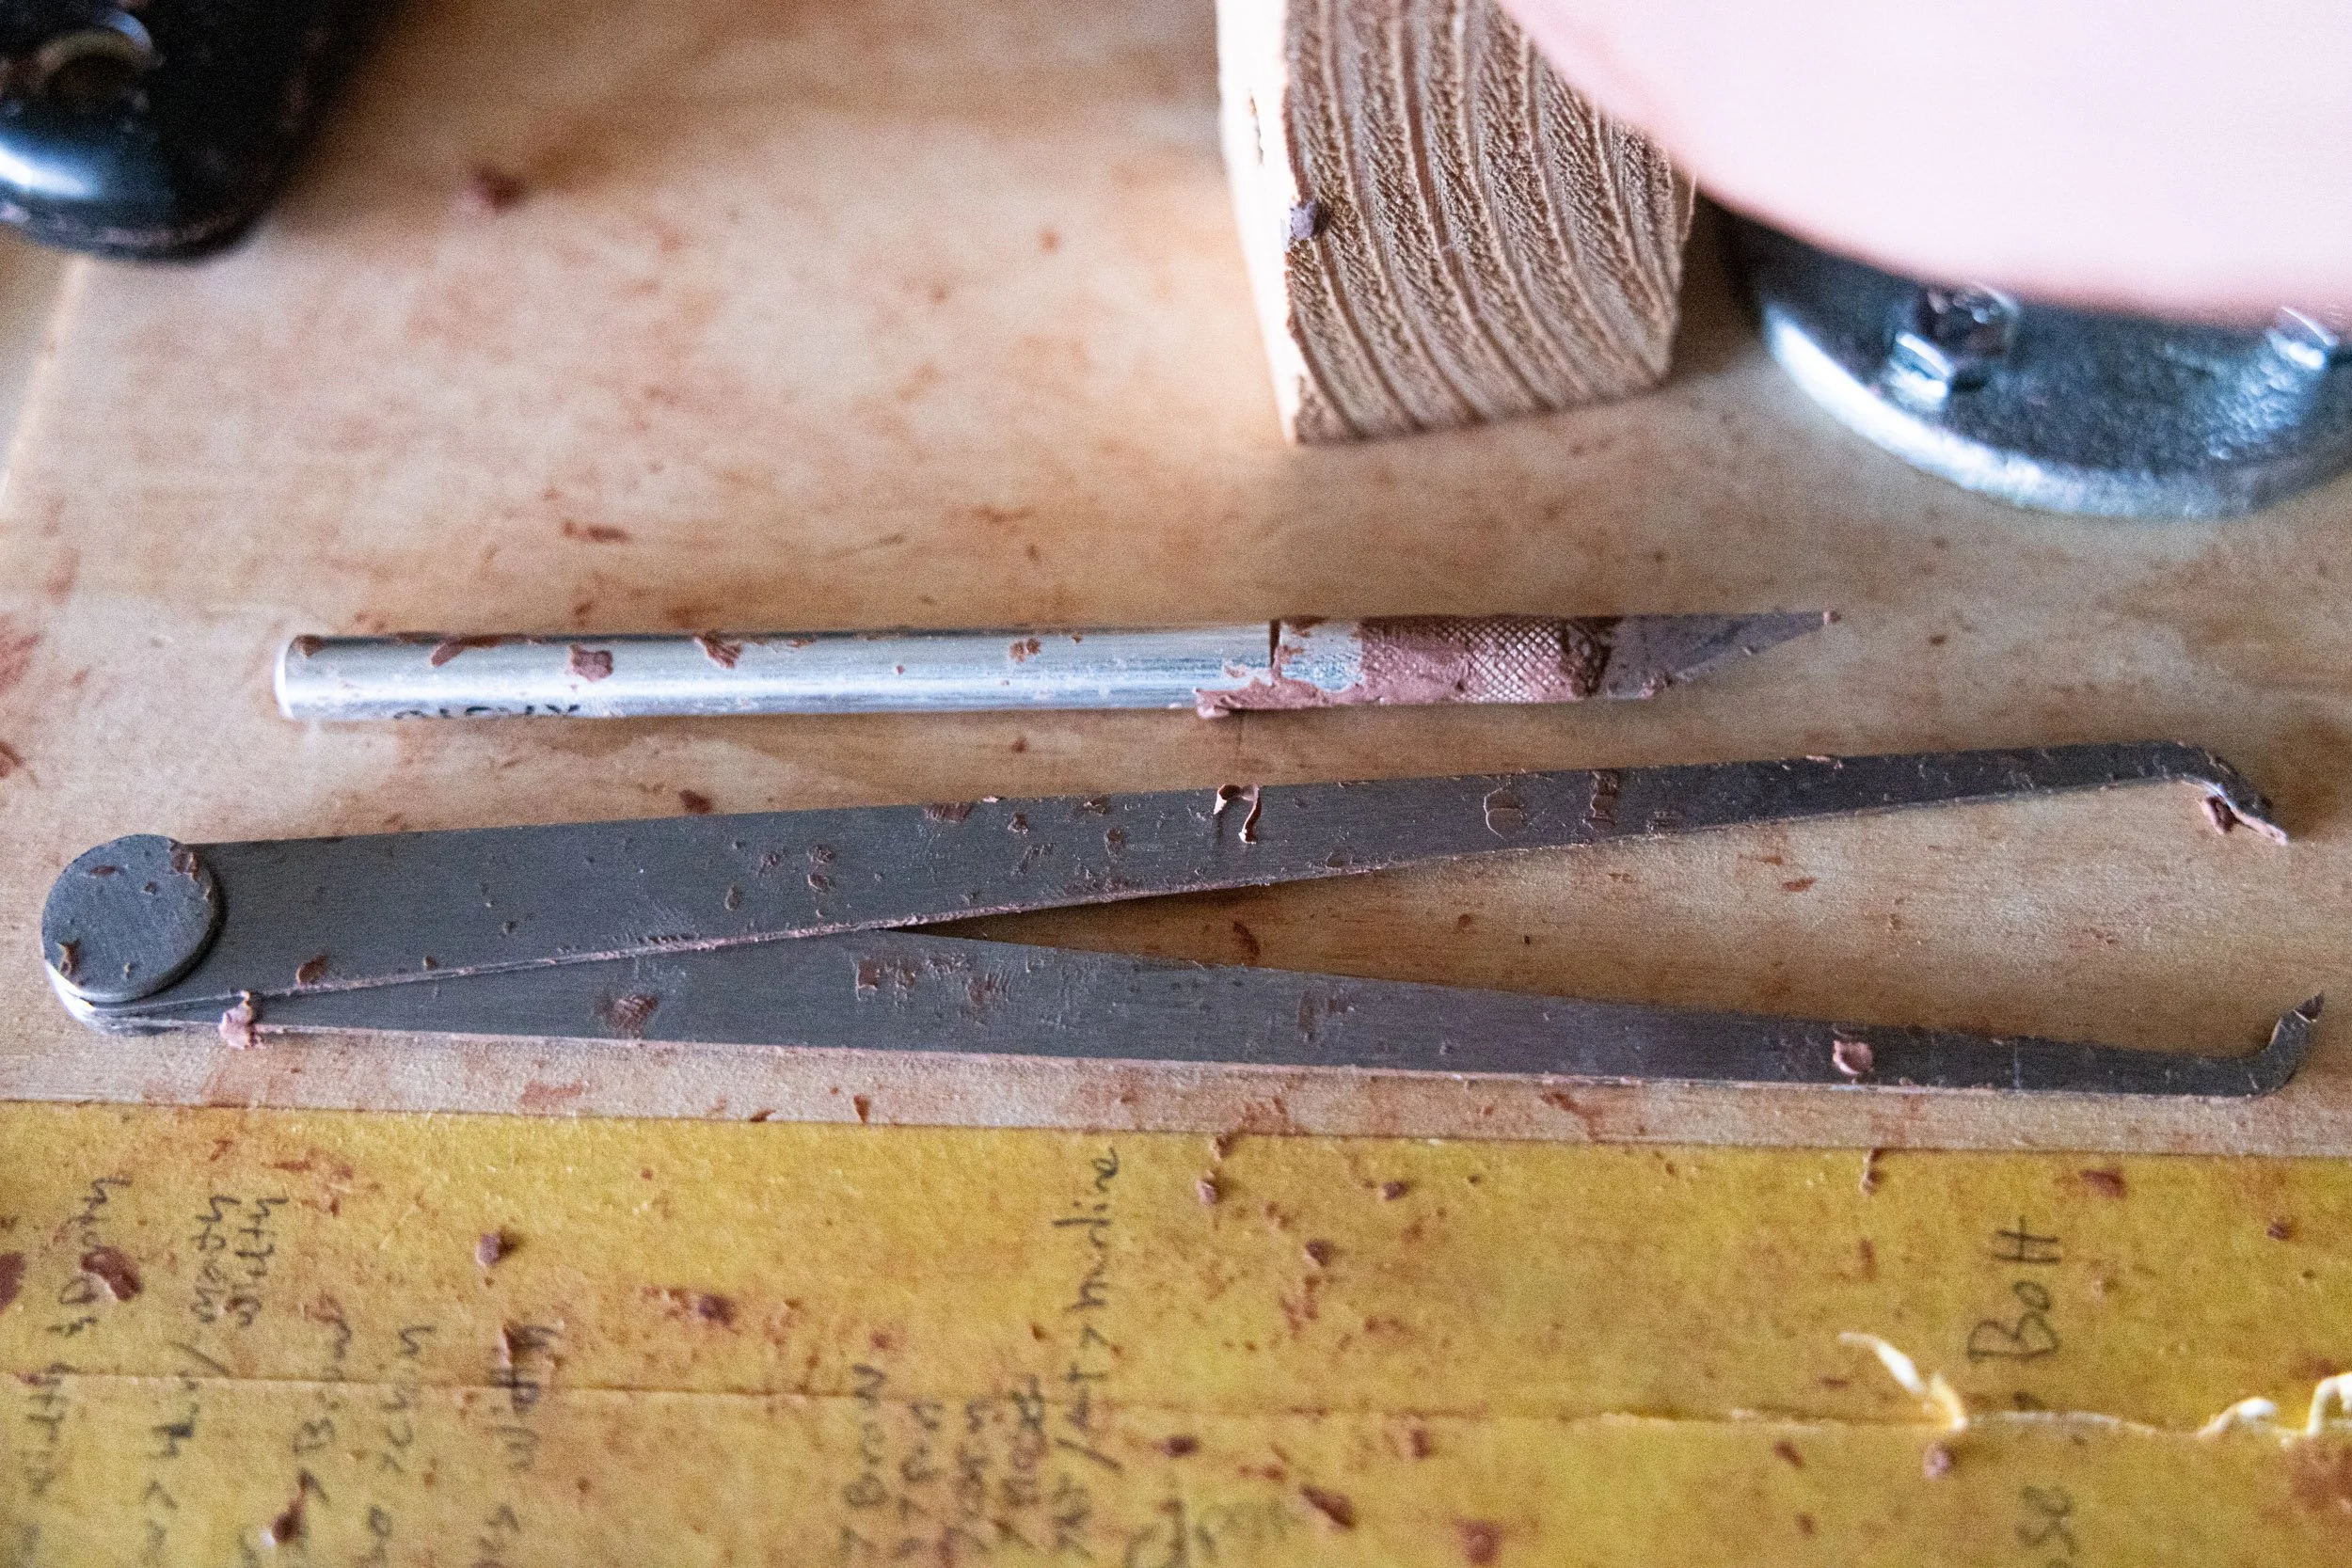
Table of Contents
What Are Clay Sculpting Tools?
When I first started working with clay, I thought the most important thing to understand was the tools. I remember looking at a full sculpting toolkit and feeling like I was missing something important. There were so many different shapes and sizes, and I didn’t really know what most of them were supposed to do.
Over time, I realized that clay sculpting tools aren’t the main focus. They’re just helpers. The real work still comes from your eyes and your understanding of form.
Sculpting tools are simply extensions of your hands. They help you interact with the clay in a few basic ways:
Push or move clay to shape forms
Remove clay to refine structure
Smooth surfaces to unify planes
Add small details
Some tools push clay, some cut into it, and others smooth the surface. Once you start thinking about tools in these simple terms, they become much easier to understand.
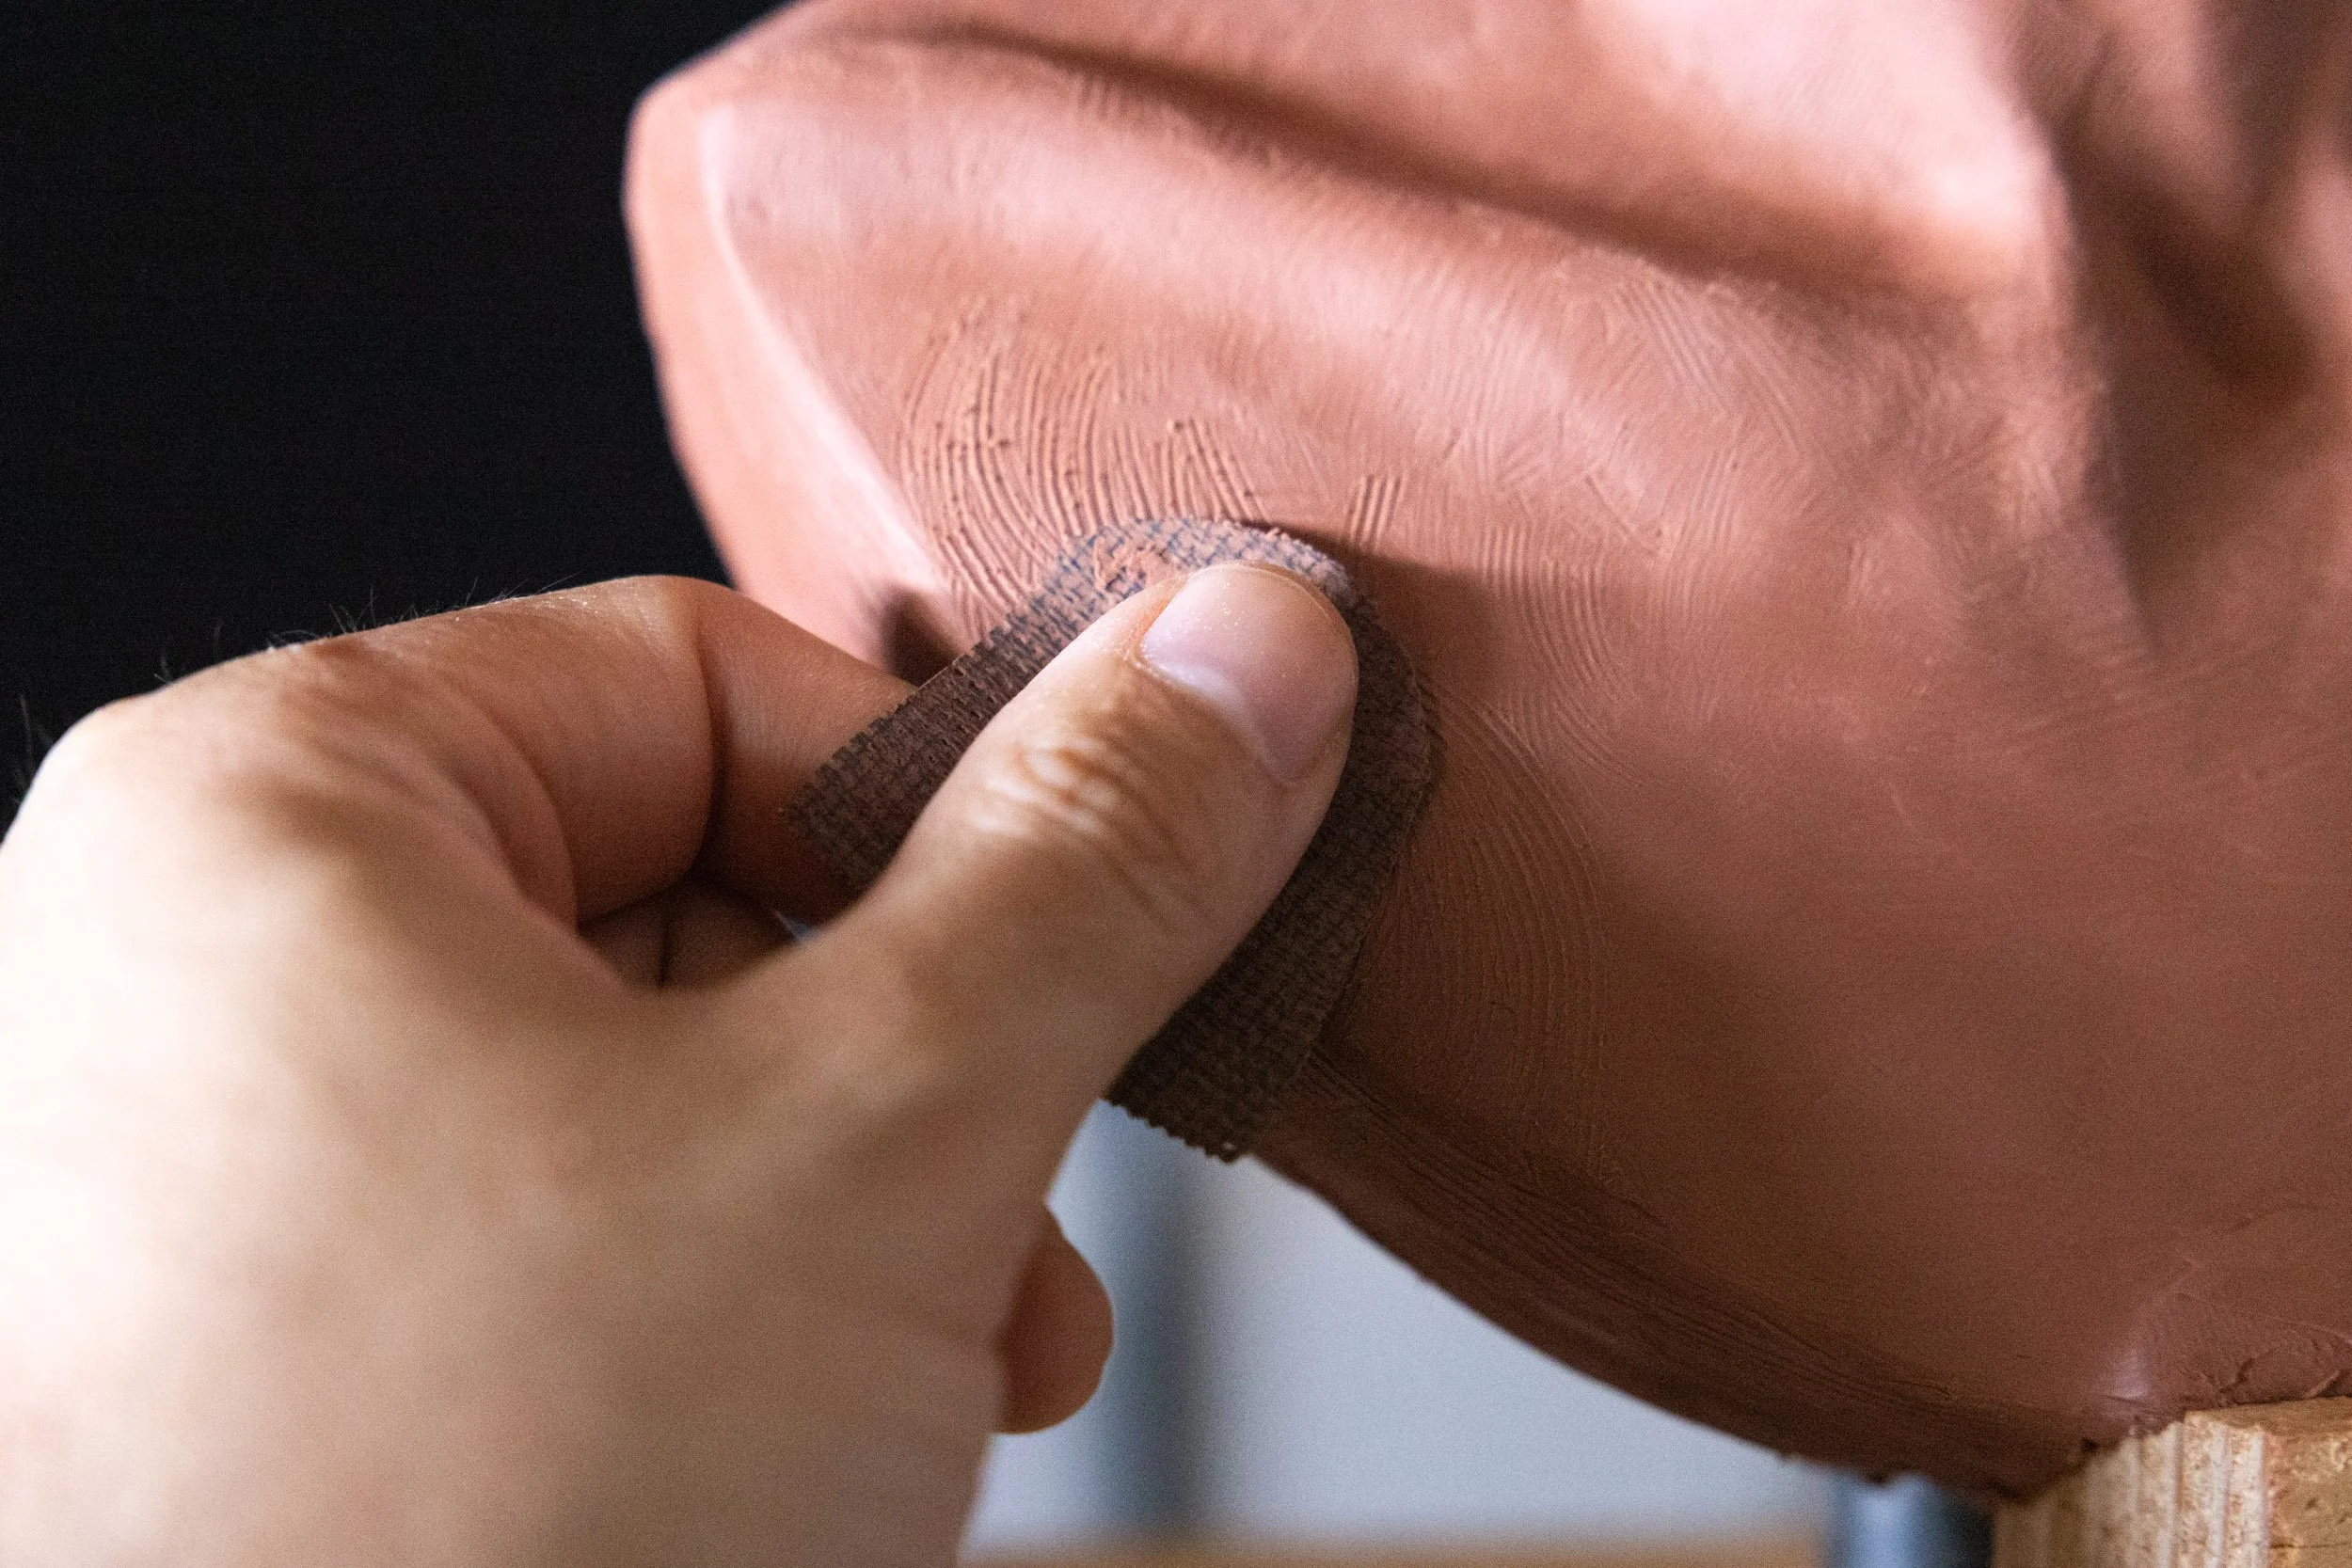
I remember the first time I used a loop tool. I assumed it was meant for carving lines, so I used it almost like a pencil. That turned out to be the wrong approach. Loop tools are actually designed to remove clay in a controlled way. When I began using it to define planes instead of scratching lines, my sculptures immediately started to look more solid.
Another thing I didn’t understand early on was the difference between modeling tools and carving tools. Modeling tools are used to push and shape clay, while carving tools are meant to remove it. Mixing those two approaches can make a sculpture feel messy very quickly.
I was also surprised by how important tool marks can be. At first, I tried to smooth everything out because I thought a perfectly smooth surface was the goal. But tool marks can actually help describe form. A clean pass with a loop tool can show a plane change much more clearly than over-smoothing everything.
I also used to overwork my surfaces. I would keep going over the same area again and again, trying to fix small problems, and it usually made the form worse. Now I try to make fewer, more intentional passes. If something feels off, it usually means I need to step back and look more carefully rather than keep sculpting.
Limiting the number of tools I used helped a lot. Instead of jumping between ten different tools, I focused on just two or three and learned how to use them well. A simple wooden modeling tool and a loop tool can take you very far.
Your hands are still your best sculpting tools. That took me a while to accept. Fingers are great for blending surfaces, adjusting proportions, and feeling the form as you work. Tools can help, but they can’t replace that.
If you’re just starting out, don’t worry about owning a full set of sculpting tools. Focus on understanding what each tool is actually doing to the clay. That’s where real progress happens.
Once that starts to make sense, the tools stop feeling confusing and you stop guessing.
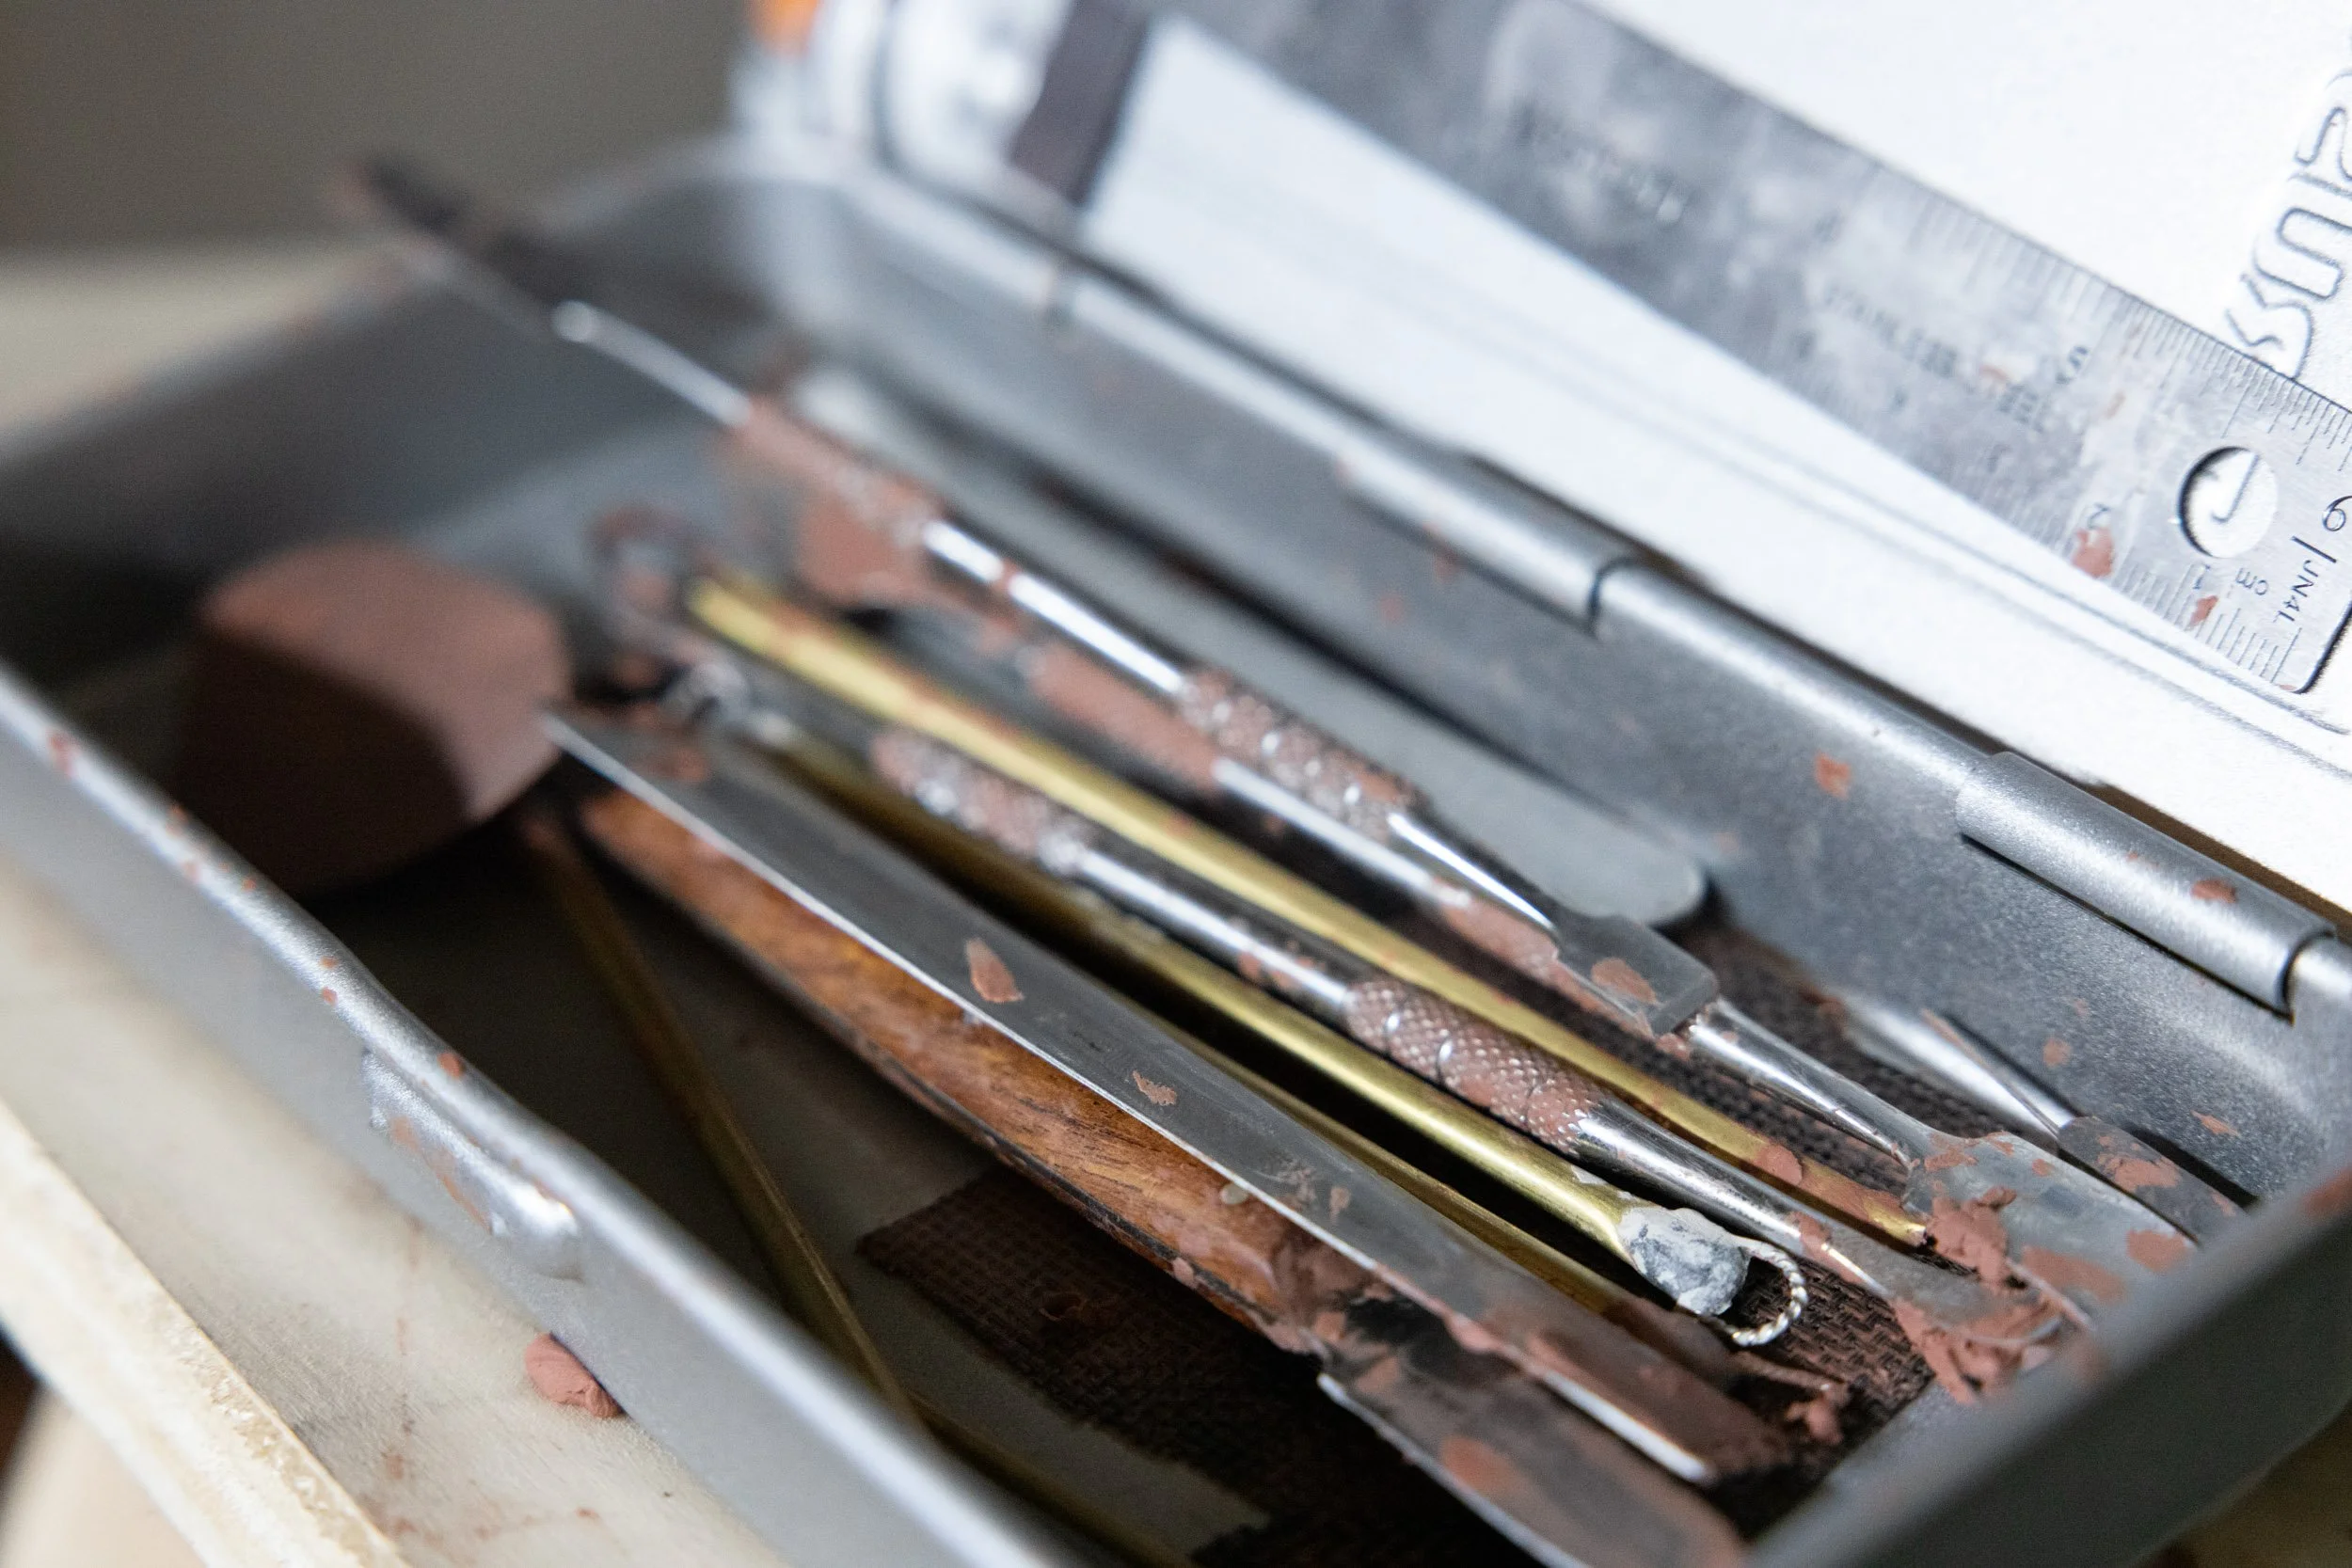
Essential Clay Sculpting Tools for Beginners
I went through a phase where I believed having more tools would lead to better sculptures. At one point I had an entire roll of clay sculpting tools laid out in front of me—loop tools, ribbon tools, dental tools, and a few others I didn’t even know how to use yet. Somehow, my work actually got worse.
Having too many options made it harder to focus. I’d use one tool for a few seconds, then switch to another, then switch again. There was no consistency and no real control.
What ended up helping the most was doing the opposite. I reduced everything down to just a few essential sculpting tools and focused on learning those well.
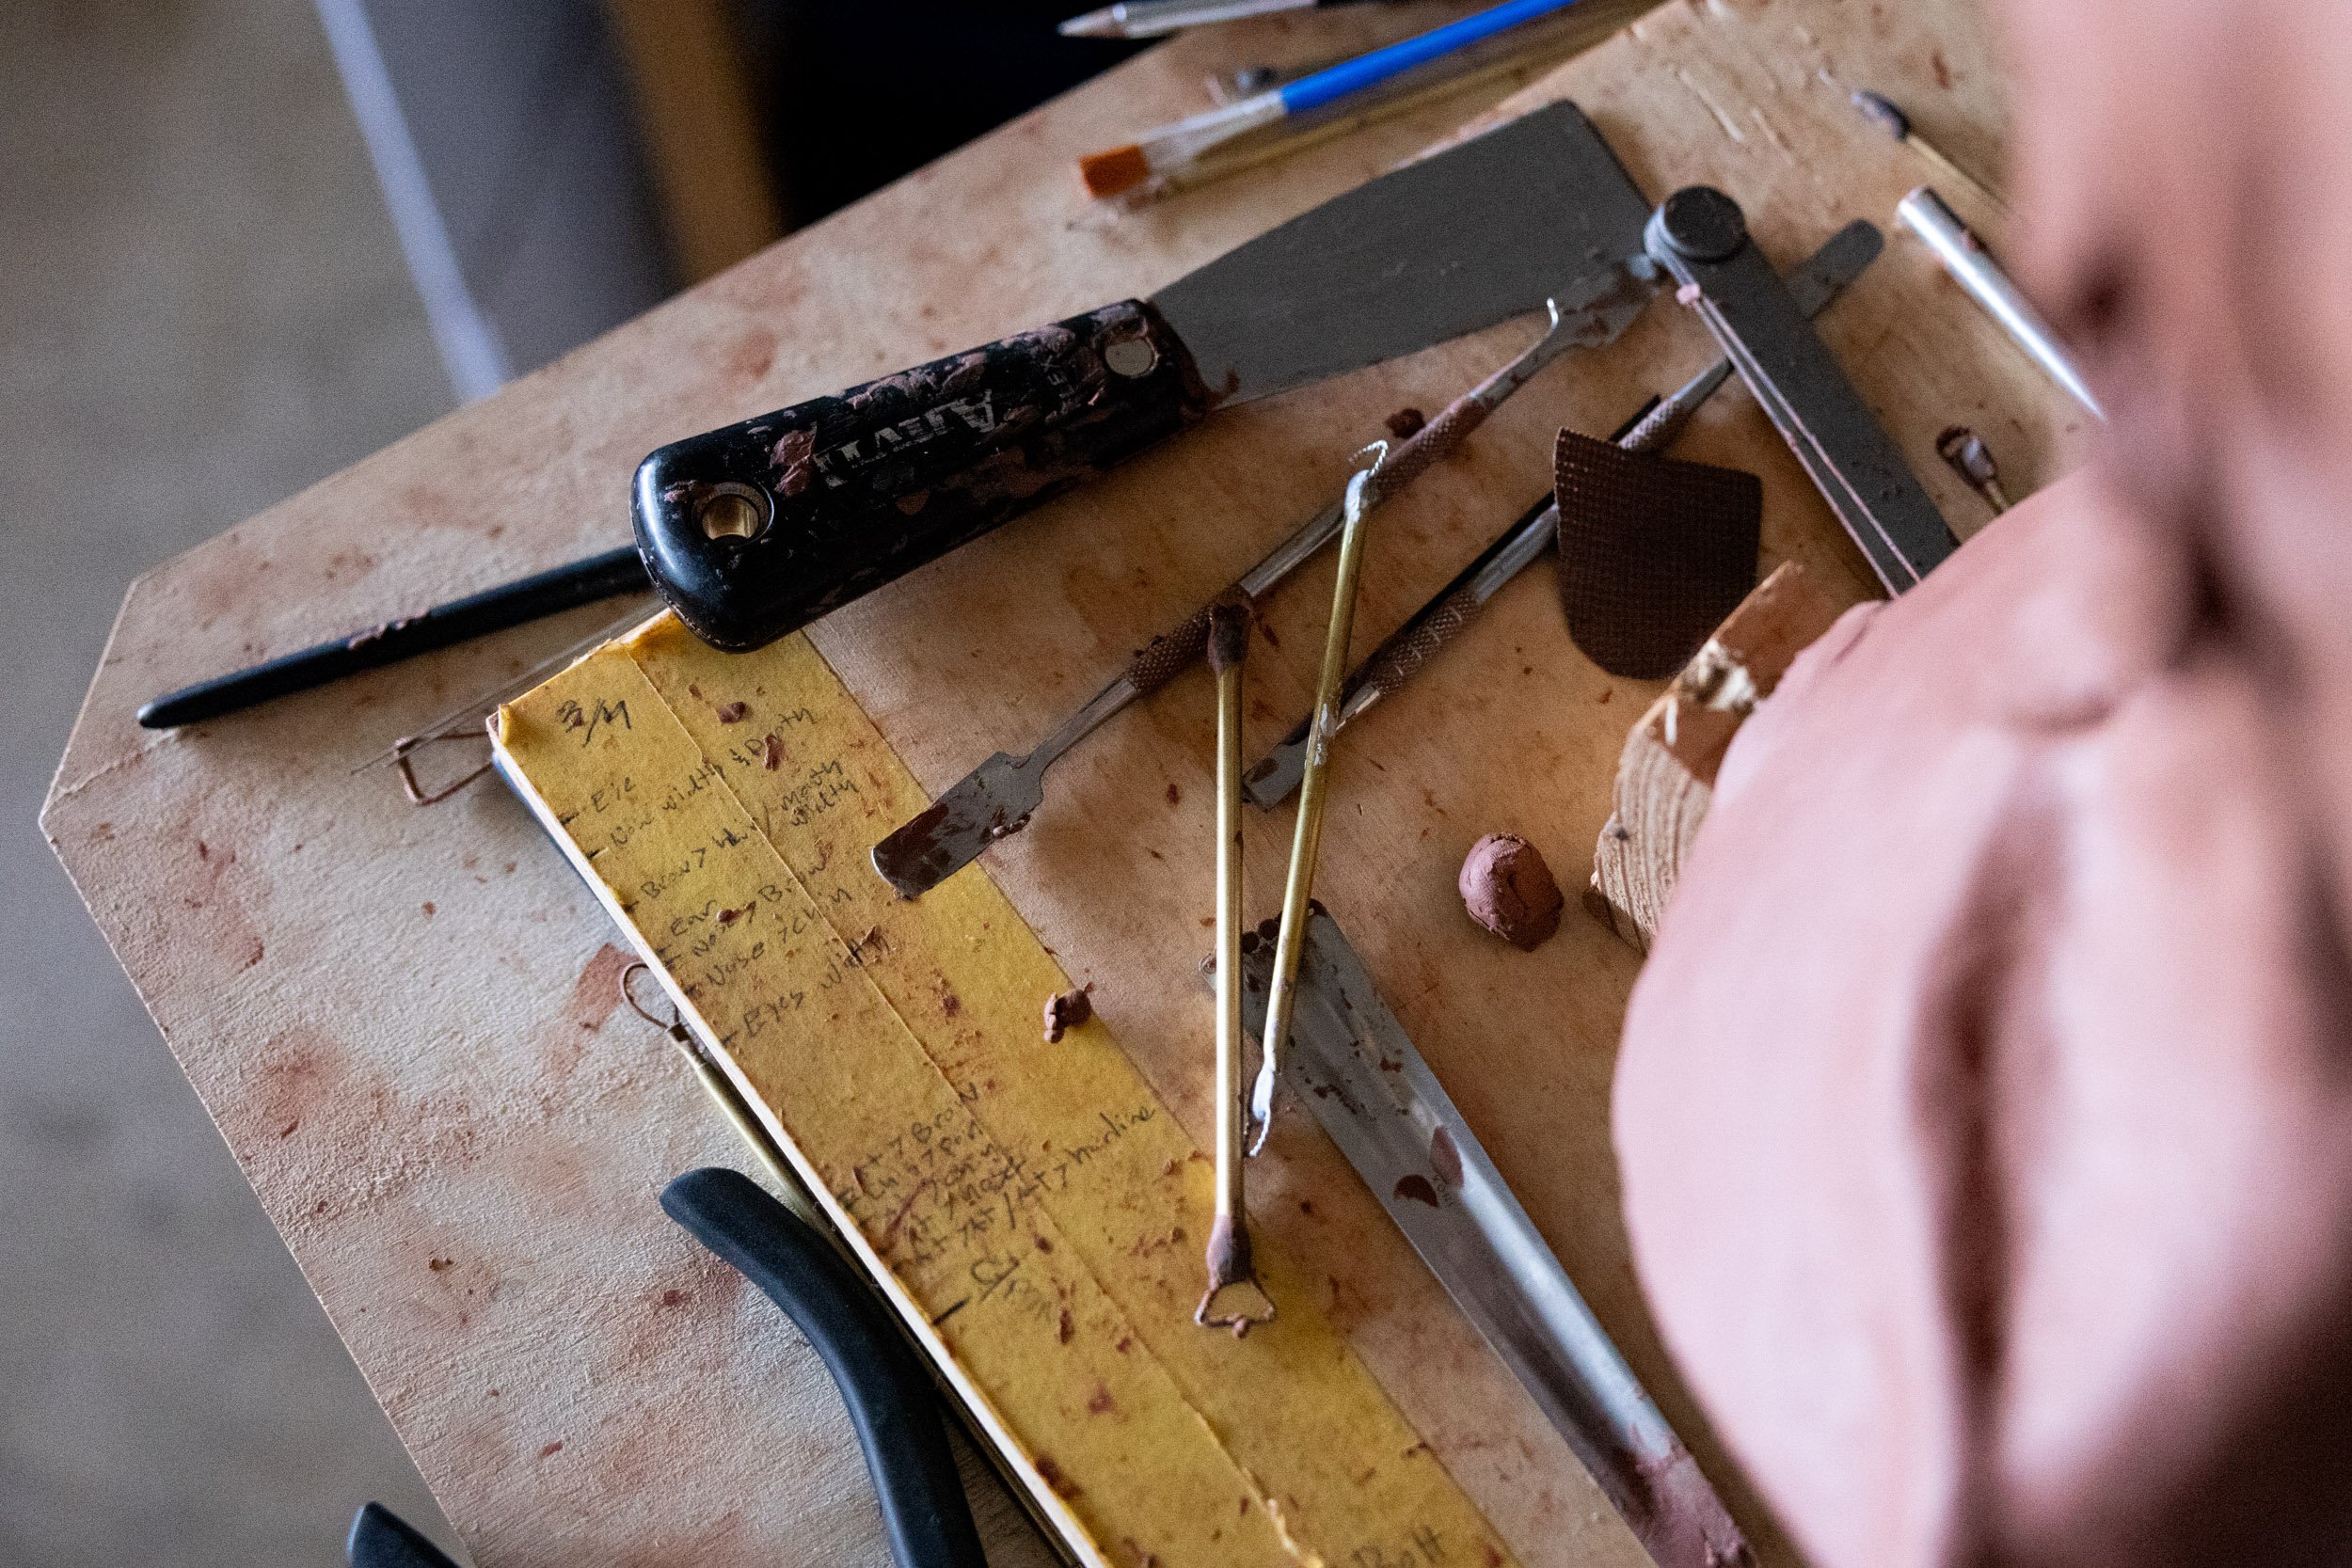
The first tool I usually recommend is a basic wooden modeling tool. It’s simple, but it’s incredibly versatile. You can use it to push clay, shape forms, define edges, and even smooth certain areas.
I worked with one of these for a long time before adding anything else, and I still return to it often. Its simplicity forces you to think more about the form instead of relying on the tool to solve the problem.
The next tool is a loop tool, and this one made a big difference for me.
Loop tools are designed to remove clay cleanly. Instead of digging or scraping, they shave off material in a controlled way. That’s especially helpful when you’re trying to define planes or adjust proportions.
I remember working on a head study and struggling to get the cheek planes right. I kept pushing clay around with a modeling tool, but the forms just became soft and mushy. Once I switched to a loop tool and started removing clay instead, the structure of the forms became much clearer.
Another tool I didn’t appreciate at first was the wire clay cutter. I originally thought it was only useful for cutting blocks of clay, but it’s actually great for making clean slices and checking proportions.
Sometimes I’ll cut through a sculpture just to examine the profile. It can reveal problems that are hard to see from the outside. It might feel a bit destructive at first, but it can teach you a lot about the structure of your sculpture.
Then there’s the needle tool, which is useful for more precise tasks. It can be used to mark alignment, check proportions, or lightly indicate details. I try not to rely on it too heavily, though, because it’s easy to start drawing lines into the sculpture instead of building the form.
Rubber or silicone shapers can also be helpful, especially when smoothing transitions. Because they’re softer, they don’t stick to the clay the same way harder tools do, which makes it easier to blend surfaces without tearing them.
Even with all of these tools, your hands are still the most important ones.
Early on, I didn’t use my hands enough. I assumed tools were more accurate, but that isn’t always true. Your fingers can feel subtle changes in form that tools can’t. They’re especially useful for blending surfaces and keeping transitions soft.
One thing that helped me improve faster was limiting myself to just a few tools during each session:
Wooden modeling tool
Loop tool
Rubber or silicone shaper (optional)
Keeping the setup simple forces you to solve problems instead of constantly reaching for another tool. That’s usually where the most learning happens.
If you’re just starting out, don’t worry about building the perfect sculpting toolkit. Start small, learn what each tool does, and use them with intention.
You don’t need a lot of tools you just need to understand the few you have.
Understanding Loop Tools and Ribbon Tools
At first, I treated loop tools like they were meant for carving lines or adding small details. I used them lightly, almost like drawing on the surface of the clay. That approach didn’t lead to much progress.
Things started to make more sense once I began using loop tools the way they’re actually designed to be used. Loop tools are made to remove clay. Not scratch it or poke at it.
Loop tools come in different shapes and sizes. Some are wide and flat, while others are narrower and more curved. I didn’t pay much attention to that at first, but it actually makes a big difference. Wider loop tools work well for removing clay across larger areas and defining broader planes, while smaller ones are better suited for tighter transitions.
I remember working on a simple bust and struggling with the transition from the cheek into the side of the head. I kept pushing clay around with a modeling tool, but the form stayed soft and unclear. When I switched to a medium-sized loop tool and began removing clay along that transition, something finally clicked.
The plane change became clear almost immediately.
One mistake I made early on was using too much pressure. I would dig into the clay and remove too much at once, which meant I had to rebuild the area afterward. That slowed the whole process down.
Now I try to work with lighter passes. It’s more like shaving thin layers than cutting chunks of clay. This gives you more control and lets you slowly work toward the form instead of removing too much too quickly.
Another helpful thing was paying attention to the direction of the tool. The way you move it matters. If you follow the flow of the form, your cuts tend to look cleaner and more natural. If you move against that flow, the surface can start to look choppy.
Keeping your tools clean also makes a difference. Clay tends to build up along the edge of loop tools, and if you don’t wipe it off, the tool starts dragging instead of cutting. I used to ignore that and couldn’t understand why my surfaces looked rough.
Loop tools are some of the most useful clay sculpting tools once you understand how they work. Removing clay helps reveal the structure of the form much more clearly than just pushing material around.
Once that starts to make sense, your sculptures begin to feel more solid and deliberate, with much less guesswork involved.
How to Use Sculpting Tools Effectively
Using sculpting tools well is less about the tool and more about how you approach the process. I didn’t get that at first.
I used to jump into details way too early. I’d grab a needle tool or a small loop tool and start focusing on little things before the main forms were even established. The result always felt off, even if the details were clean.
What helped was changing the order I worked in.
Now I always start with large forms. Big shapes first. Then medium forms. Then smaller details. Your tools should follow that same idea. Start with larger tools, then move into smaller ones as the sculpture develops.
If you skip that and go straight into detail, it’s like decorating a structure that isn’t built yet.
Another thing that made a big difference was learning to use tools to describe planes, not just lines. Early on, I was basically drawing on the clay. Scratching in features instead of building them.
When I started thinking in terms of planes, everything improved. A loop tool can define a cheek plane. A modeling tool can establish the brow ridge. These are surface changes, not lines.
Pressure control is also huge. I used to press too hard without realizing it. The tool would dig in and leave marks that were hard to fix.
Now I try to stay light. Let the tool do the work. If I need to remove more clay, I make multiple passes instead of one aggressive one.
Angle matters too. If your tool is too steep, it cuts harshly. If it’s too flat, it might just smear the clay. Finding that middle angle takes a bit of practice, but once you feel it, it becomes natural.
One habit that helped me a lot was stepping back more often. It’s easy to get locked into a small area and lose track of the overall form. I still catch myself doing that sometimes.
Also, try not to overwork the surface. I used to keep going over the same area trying to make it perfect. It usually made things worse.
Now I try to make a few intentional passes and then leave it alone. If something looks off, I step back, look at it fresh, and then make a decision.
Using sculpting tools effectively is really about control and intention. Not speed.
You don’t need to rush. The clay isn’t going anywhere.
Clay Sculpting Tools vs Using Your Hands
I didn’t use my hands enough when I first started sculpting. I thought tools were more precise, more “correct,” so I leaned on them for everything. Looking back, that actually slowed my progress.
Your hands are incredibly important in clay sculpting. They help you feel the form in a way tools can’t. That tactile feedback is something I didn’t fully appreciate at first.
I remember working on a torso study and struggling to get the transitions to feel natural. Everything looked stiff. I kept trying to fix it with tools, but it just wasn’t working. Then I switched to using my fingers to gently blend the forms, and things softened up in a way that felt much more natural.
There’s a balance between using sculpting tools and using your hands. Tools are great for precision, removing clay, and defining planes. Hands are better for blending, adjusting proportions, and keeping the gesture alive.
One thing I noticed early on was that overusing tools can make a sculpture feel tight. Almost mechanical. When I rely more on my hands, the forms feel more organic.
That said, hands can also make things too soft if you’re not careful. I’ve definitely over blended areas and lost important structure. Then I had to go back in with a loop tool to redefine the planes.
So it’s really about switching between the two.
I usually start with my hands to block in the main forms. It’s faster and more intuitive. Then I move into tools to refine those forms. After that, I might go back to my hands again to soften transitions.
Another thing that helped me was paying attention to pressure. Fingers can apply a lot of force without you realizing it. Sometimes I’d press too hard and flatten areas I didn’t mean to.
Now I try to use lighter touches and build up gradually.
Also, temperature matters more than I expected. Warm hands can soften clay quickly, especially oil based clay. That can be useful, but it can also make things messy if you’re not aware of it.
At the end of the day, your hands are your most versatile sculpting tools. They’re always available, and they respond instantly.
If you’re just starting out, don’t rely only on tools. Spend time working directly with your hands. It’ll improve your understanding of form way faster.
Optional Tools (When You’re Ready to Expand)
There was a point where I started getting curious about more advanced clay sculpting tools. I had the basics down, and I wanted to see what else was out there. That’s when I started adding a few optional tools into my workflow.
You don’t need these tools to get started, but they can be really helpful once you understand the fundamentals.
One of the first tools I added was calipers. These are great for measuring proportions. I used to eyeball everything, which is fine to a point, but calipers helped me be more accurate.
I remember working on a head sculpt and using calipers to compare the width of the eyes and the distance between features. It helped me catch small proportion errors that I probably would have missed otherwise.
Texture tools are another category. These can be stamps, brushes, or even custom tools you make yourself. They’re useful for adding surface detail like skin texture, fabric, or rough surfaces.
I went through a phase where I used texture tools too much. Everything had texture, even areas that didn’t need it. It made the work feel noisy. Now I use them more selectively.
Dental tools are also pretty common. They’re great for fine detail work, especially in smaller areas. But they can be a bit too sharp if you’re not careful.
I’ve scratched into areas thinking I was refining, but really I was just damaging the surface. So I use them lightly, mostly toward the end of a piece.
A turntable is another tool that made a big difference for me. Being able to rotate your sculpture easily helps you see it from all angles. It sounds simple, but it improves your workflow a lot.
Before I had one, I’d keep picking up and turning my piece. It was awkward and I missed things. A turntable keeps everything steady and makes it easier to evaluate your work.
There are also tools related to building armatures, like wire cutters and pliers. These aren’t sculpting tools in the traditional sense, but they’re important if you’re working on larger pieces.
One thing I learned the hard way is to not add too many tools too quickly. It’s easy to fall into that trap again.
Each new tool should solve a specific problem you’re having. Not just because it looks useful.
As you keep sculpting, you’ll naturally figure out what tools you actually need. Your toolkit will grow based on your experience, not guesswork.
That’s the way to do it.
Choosing the Right Tools for Different Types of Clay
This is something I didn’t think about at all in the beginning. I assumed clay sculpting tools were just… tools. Same set, same use, no matter what kind of clay I was working with.
That assumption caused a lot of small problems that I didn’t understand at the time.
Different types of clay behave very differently. Water based clay, oil based clay, and polymer clay all respond to tools in their own way. If your tools don’t match the material, things feel harder than they should.
When I first worked with water based clay, I noticed it dried out quickly. Tools would start dragging across the surface if the clay wasn’t at the right moisture level. I thought I was doing something wrong with my technique, but it was actually the clay.
With water based clay, I tend to use tools that are a bit smoother and less aggressive. Wooden modeling tools work really well because they don’t stick as much. I also keep a small spray bottle nearby to control moisture. That alone makes a big difference.
Loop tools still work, but you have to be a bit more careful. If the clay is too dry, they can tear the surface instead of cutting cleanly. If it’s too wet, they can smear everything.
Oil based clay is a different experience completely.
It doesn’t dry out, which is nice. You can take your time. But it’s usually softer, especially when it warms up. I remember working under a light and the clay got so soft that my tools were just sliding through it.
With oil based clay, I prefer slightly firmer tools. Metal loop tools and ribbon tools work really well here because they can cut through the material cleanly without dragging.
Temperature plays a role too. If the clay gets too soft, I’ll step away or cool it down a bit. Otherwise, it’s hard to control.
Polymer clay is another category. It’s usually firmer until it’s baked, so your tools need to be a bit sharper or more precise.
I’ve found that needle tools and smaller detail tools work well with polymer clay because you’re often working at a smaller scale. You’re not removing large amounts of material as often.
One mistake I made early was using the same pressure across all clay types. That doesn’t work.
Water based clay needs a lighter touch when it’s drying. Oil based clay can handle a bit more pressure, but only if it’s not too soft. Polymer clay requires more control because it doesn’t move as easily.
Cleaning your tools is also important depending on the material. Water based clay can dry on your tools and affect your next pass. Oil based clay builds up over time and can make tools less effective.
Now I wipe my tools regularly while working. It keeps the cuts cleaner and the surfaces smoother.
If you’re just starting out, try to match your tools to the clay you’re using. You don’t need a completely different set, but small adjustments make a big difference.
Once you feel that difference, things start to click a lot faster.
Common Mistakes Beginners Make with Sculpting Tools
I made most of these mistakes without realizing they were mistakes. That’s the tricky part. Nothing felt obviously wrong in the moment, but the results always felt off.
One of the biggest issues was using too many tools too early. I thought switching tools would solve problems. It didn’t. It just made things inconsistent.
I’d start shaping with a modeling tool, then switch to a loop tool, then grab a needle tool, all within a few minutes. There was no clear approach. Now I stick with one tool longer and really try to understand what it’s doing before switching.
Another mistake was going into detail too soon.
I remember working on a head sculpt and jumping straight into eyes and lips before the skull structure was even solid. The details looked okay up close, but the overall form felt wrong. It didn’t hold together.
Now I force myself to stay in the larger forms longer. If the big shapes aren’t working, details won’t fix it.
Scratching instead of shaping was another big one.
I used to use tools like I was drawing lines into the clay. It felt productive, but it wasn’t actually building form. It was just marking the surface.
Once I started thinking in terms of planes and volumes, I stopped scratching and started shaping. That shift made a huge difference.
Overworking the surface is something I still have to watch out for.
I’d keep going over the same area trying to smooth it out or refine it, and it just got worse. The surface would lose clarity. It became kind of muddy.
Now I try to make fewer passes. If something isn’t working, I step back and reassess instead of staying stuck in one spot.
Not cleaning tools is another thing that seems small but adds up.
Clay builds up on loop tools and ribbon tools quickly. If you don’t wipe it off, the tool stops cutting cleanly and starts dragging. That affects your surface more than you think.
I used to ignore that and just keep working. Now I keep a rag nearby and clean tools regularly.
Another mistake was relying on tools too much.
I thought tools would give me control, but sometimes they created stiffness. When I started using my hands more, especially for blending and adjusting forms, things started to feel more natural.
If I had to narrow it down, most mistakes come from rushing.
Trying to do too much, too fast, with too many tools. Slowing down and simplifying the process helped me more than anything else.
Building Your First Sculpting Toolkit (Budget Friendly Setup)
I spent money on tools I didn’t need early on. It happens. You see a full sculpting tool kit and think that’s what you’re supposed to have.
But you really don’t need much to get started.
If I had to build a beginner clay sculpting toolkit from scratch, I’d keep it very simple. Just a few tools that cover the basics.
First, a wooden modeling tool. This is your general purpose tool. You can push clay, shape forms, and define edges. It’s versatile and easy to control.
Second, a medium sized loop tool. This is for removing clay and defining planes. If you learn how to use this well, it will carry most of your sculpting process.
Third, a wire clay cutter. It’s useful for cutting clay, sectioning forms, and even checking proportions by slicing through your piece.
That’s already enough to start making solid work.
You can add a rubber shaper if you want something for smoothing surfaces. It’s helpful, but not required at the beginning.
Everything else can come later.
I’ve also made a few DIY sculpting tools over time. Things like shaping wire into custom loops or using simple objects to create textures. You don’t always need to buy everything.
One thing that helped me was buying tools one at a time instead of getting a full set.
When you buy a full set, you don’t really learn any one tool deeply. But when you add tools as you need them, you understand exactly why they’re useful.
Budget wise, you can get started for pretty cheap. A few basic tools go a long way.
Also, think about your workspace. You don’t need a full studio. Just a stable surface, decent lighting, and a comfortable setup where you can focus.
A small turntable is a nice addition if you can get one. It makes it easier to view your sculpture from all angles without moving it constantly.
Over time, your toolkit will grow naturally. You’ll start noticing gaps in your process and look for tools that solve specific problems.
That’s how you build a toolkit that actually works for you.
Not based on what you think you need, but based on what you’ve experienced.
Conclusion
Clay sculpting tools are helpful, but they’re not the thing that makes your work better. It’s how you use them.
I spent a lot of time thinking I needed better tools, more tools, or more advanced tools. But the biggest improvements came from understanding the basics. How to shape form, how to remove clay cleanly, how to control pressure.
Once those things started to make sense, the tools became easier to use.
Keeping things simple helped more than anything. A few tools, used well, will take you much further than a full kit used without intention.
There’s also a rhythm to sculpting that takes time to develop. Switching between tools and your hands. Knowing when to remove clay and when to leave it alone. That doesn’t come from buying tools. It comes from practice.
Mistakes are part of it.
I’ve overworked surfaces, used the wrong tool, rushed into details, all of it. But each mistake pointed out something I needed to adjust.
If you’re just starting out, focus on learning your tools slowly. Don’t rush to master everything at once.
Build your toolkit over time. Add tools when you understand why you need them.
And most importantly, spend more time observing than sculpting. That might sound backwards, but it makes a big difference.
The tools are there to support you. Not to lead the process.
Once you understand that, everything starts to feel more natural.