Affiliate disclosure: This article includes affiliate links. If you buy through them, I may earn a commission at no additional cost to you. As an Amazon Associate I earn from qualifying purchases.
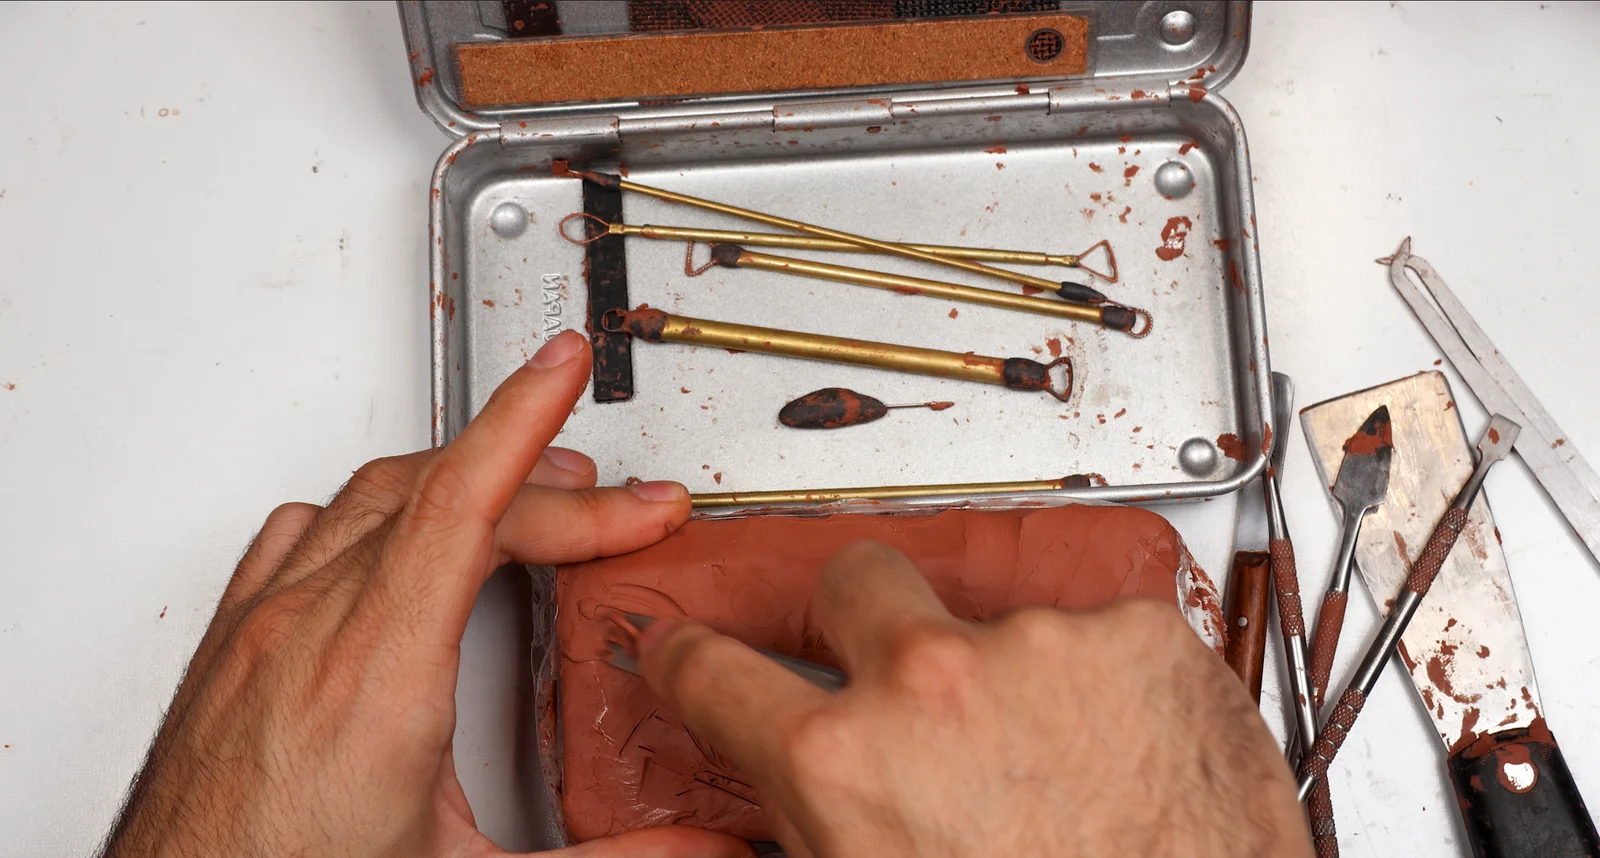
When I shared one of my recent sculptures, a few people asked what tools I use. I thought I'd put together a look at my favorite clay sculpting tools, including some I've bought and others I've made myself.
You don't need everything in my kit to get started. Some of the tools I reach for most often are pretty simple.
Measuring Tools: Calipers and a Ruler
I use these for: Checking proportions and transferring measurements.
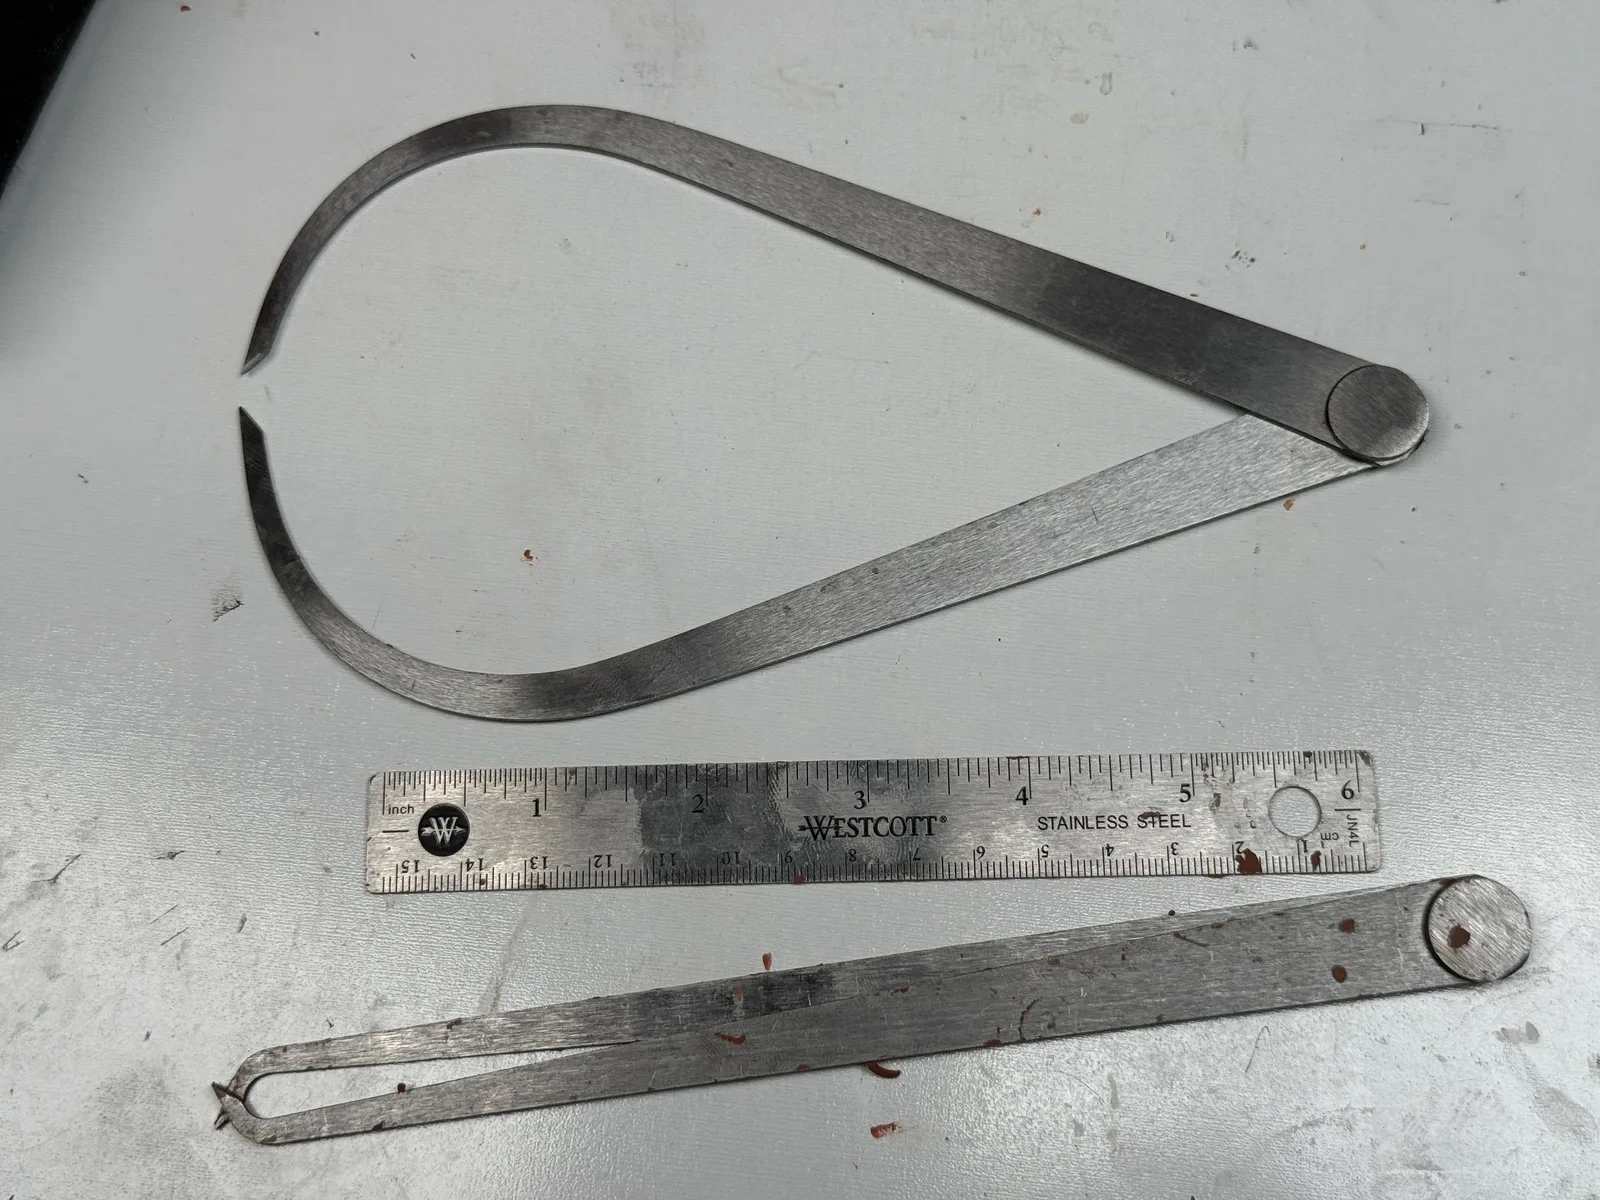
One thing I sometimes forget to do while sculpting is measure. It's a habit I'm trying to improve, especially when I'm working on proportions.
I usually mark my proportions on the board or base of the sculpture, then use calipers to compare those measurements with the piece as I work. They're useful for checking distances and transferring measurements without relying entirely on my eye.
I also keep a small metal ruler in my kit. It mostly comes out at the beginning of a project, when I'm marking proportions on the board. I don't use it much after that, but it takes up very little space.
An X-Acto Knife for Marking and Cutting
I use this for: Marking reference points and cutting away small amounts of clay.
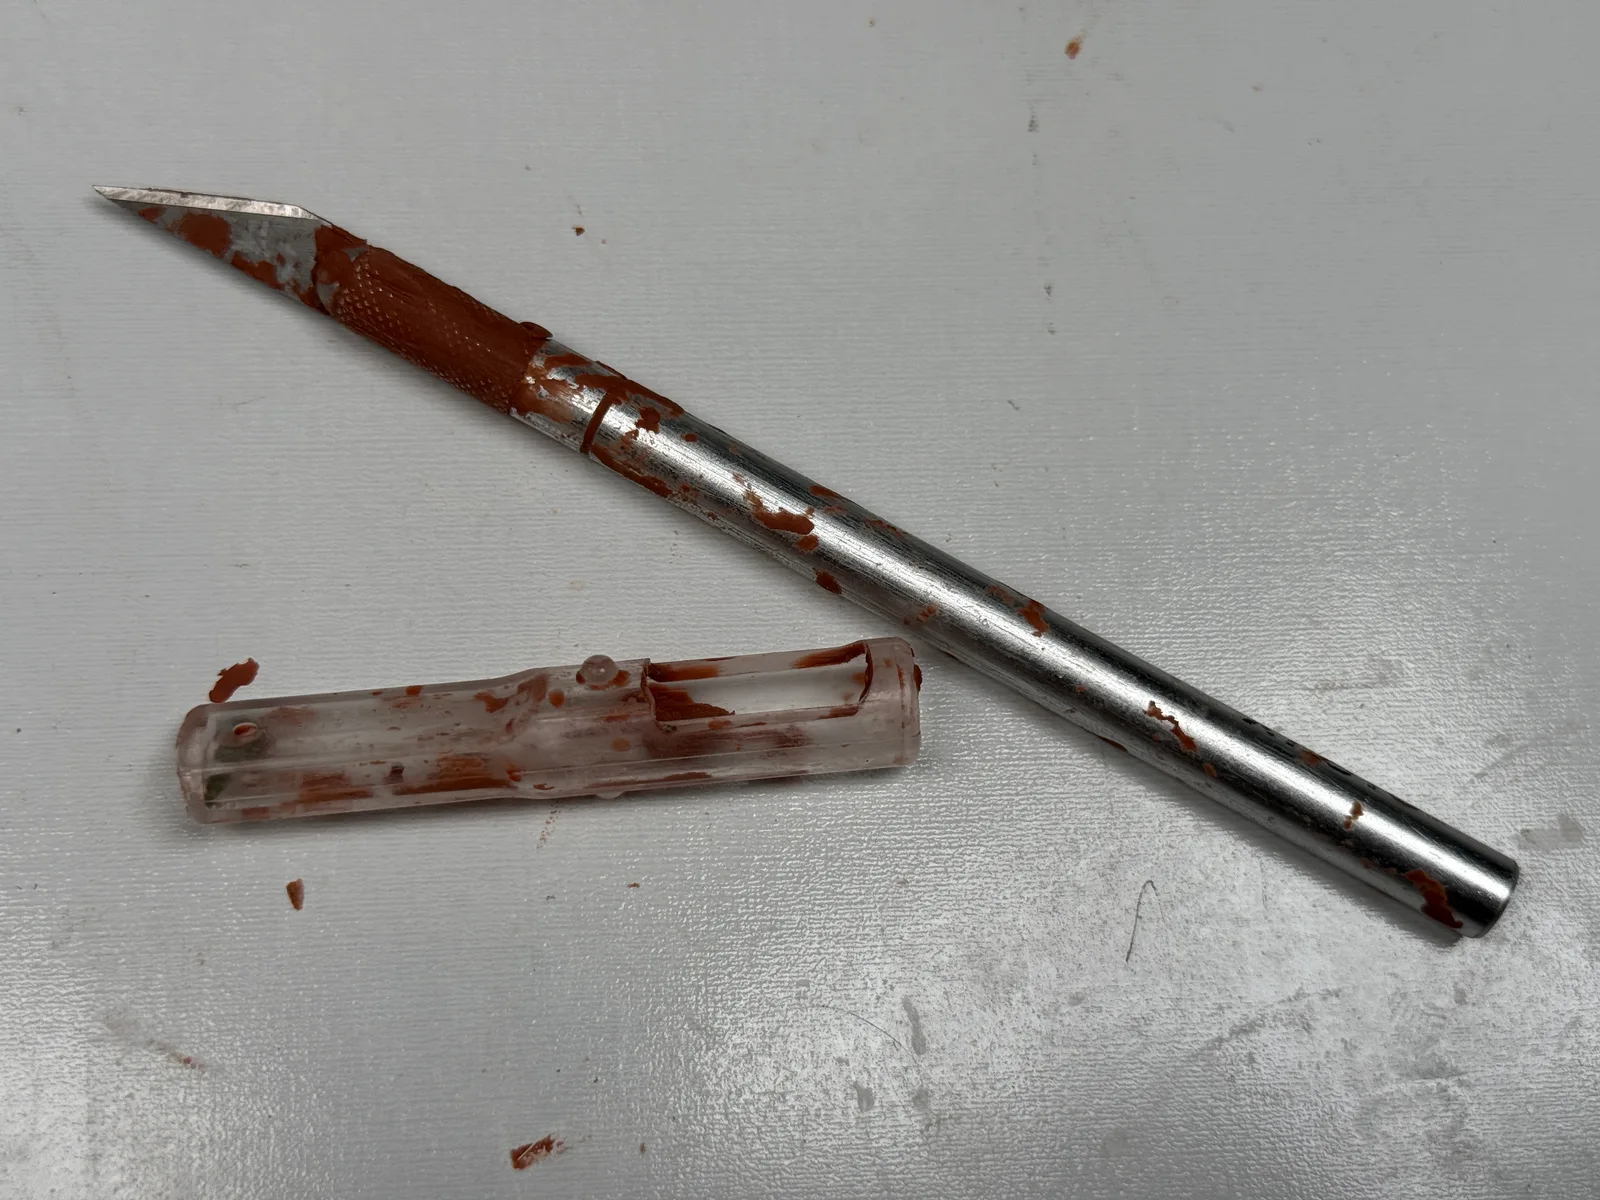
My X-Acto knife gets used throughout almost the entire sculpting process.
When I'm checking proportions, I use the tip to mark where features should go or indicate the distance between reference points. Sometimes it helps to approach the sculpture almost like a drawing, making small marks on the surface before adding or removing more clay.
The knife is also useful for cutting away small amounts of material. It's a simple tool, but it earns its place in the kit.
Metal Carving and Wax Sculpting Tools
I use these for: Removing clay and reaching small areas around facial features.
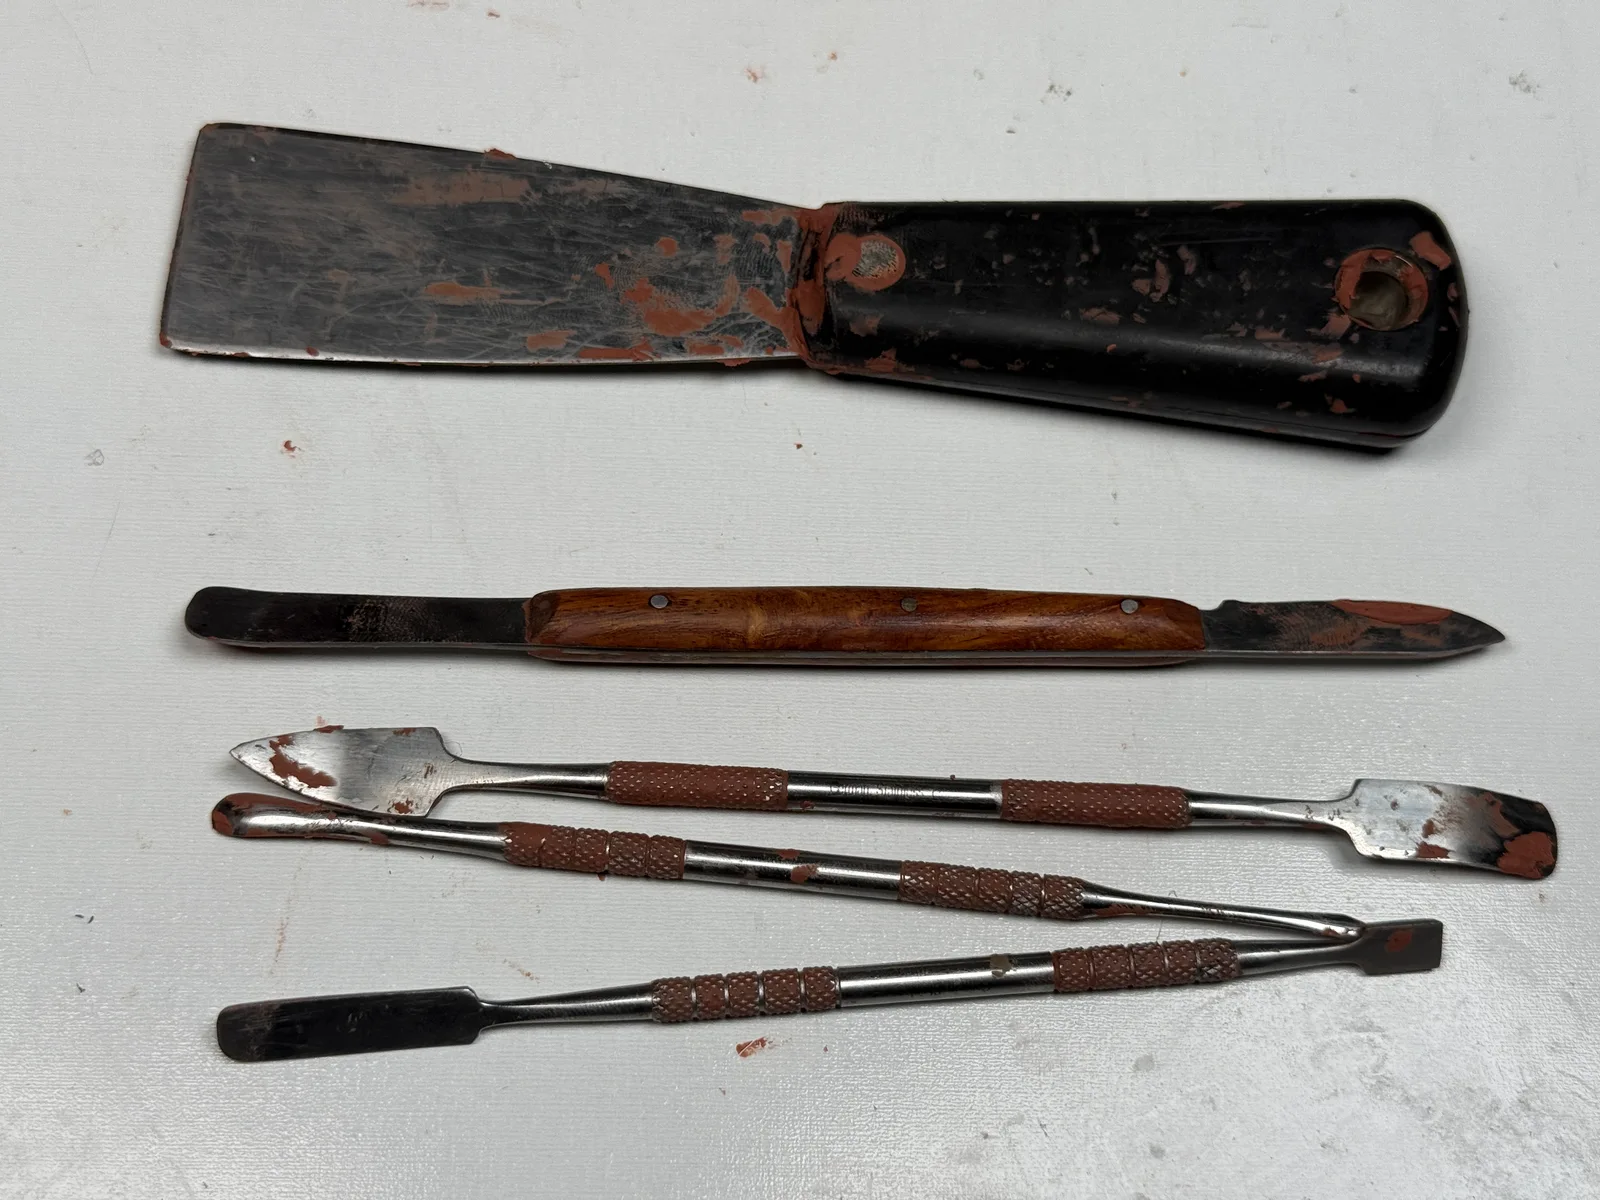
I have several metal tools for carving clay and pushing it into smaller areas. Some are sold as wax sculpting tools, but I use them with my clay too.
The more aggressive edges help when I've added too much material and need to cut a section back. Smaller pointed or rounded ends let me work around features such as the ears, nostrils, and eyes.
There are also a couple of tools in this group that I almost never use. Sometimes a tool looks useful when you buy it, but once you start working with it, you find that you prefer something else.
That's part of figuring out your own toolkit. Having a particular shape available doesn't necessarily mean you'll reach for it.
Shop Wax & Clay Sculpting Tools
Rake Tools for Removing and Refining Clay
I use these for: Scraping away excess clay and gradually refining forms.
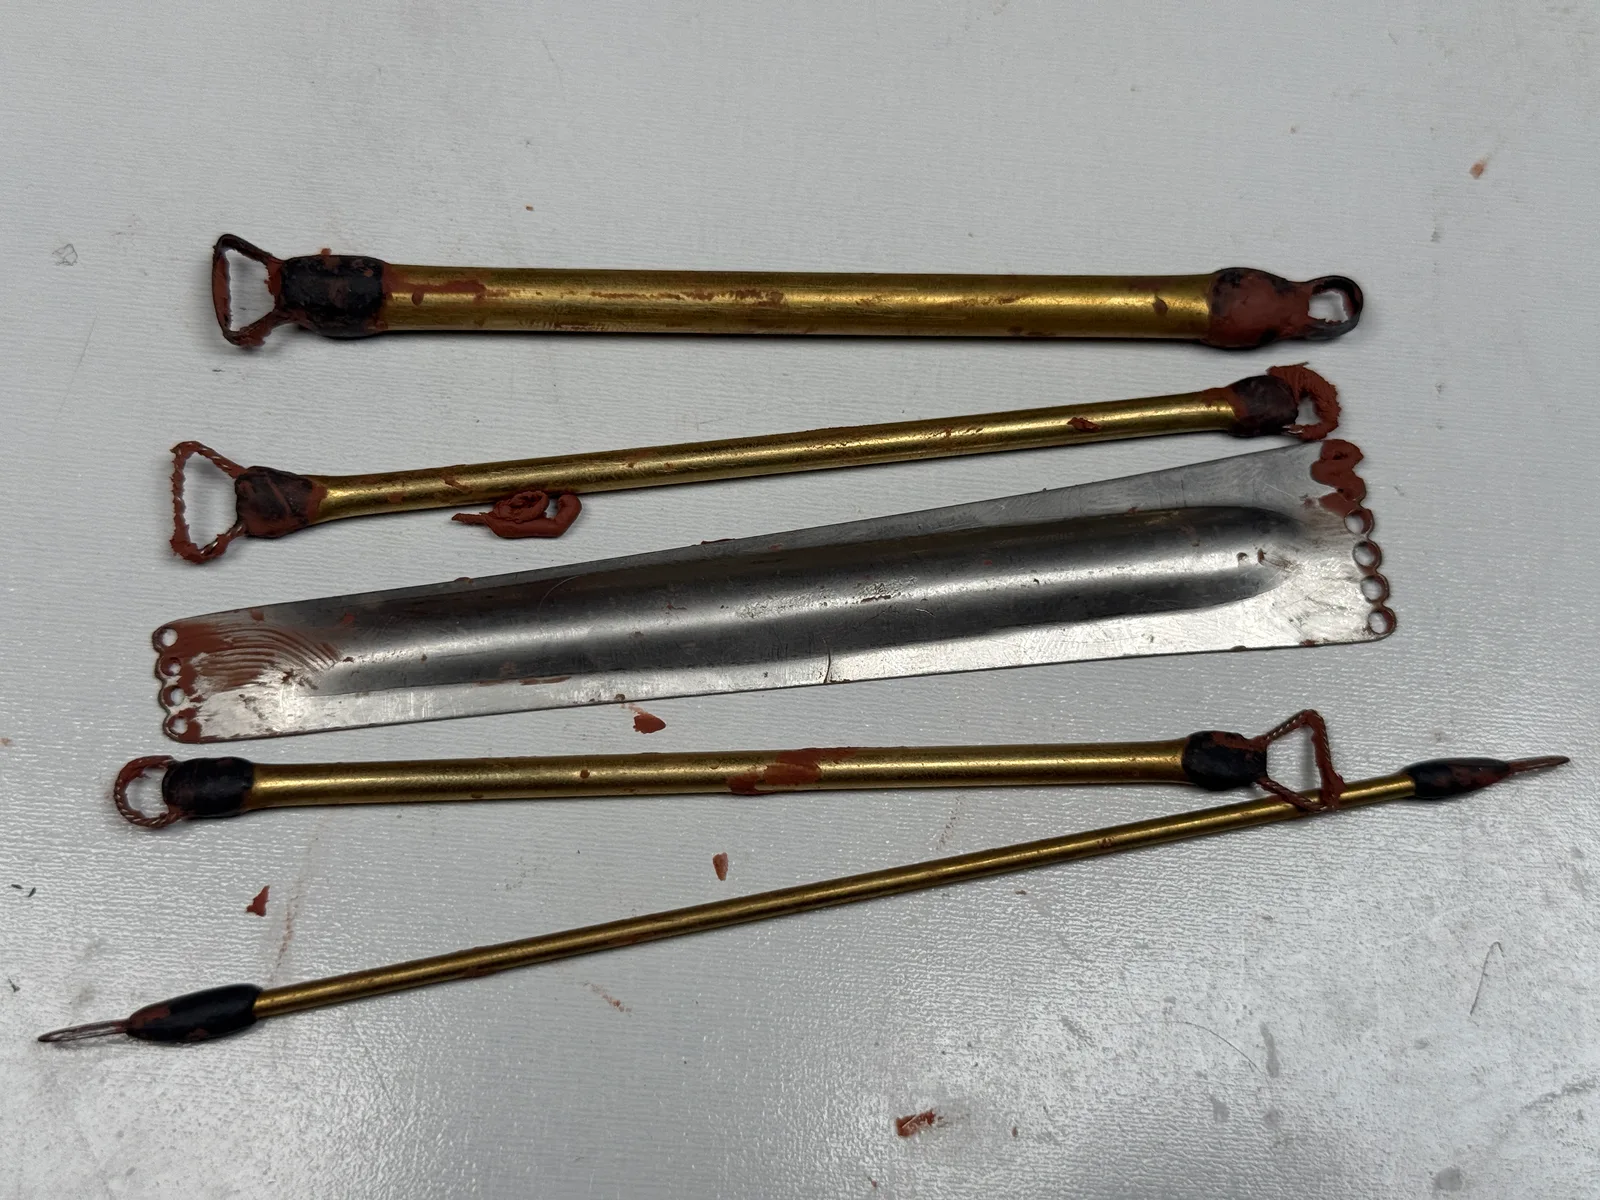
Rake tools are some of my favorite clay sculpting tools because they suit the way I work.
I've seen sculptors build forms by adding clay almost exactly where it needs to go. My process involves more back and forth. I tend to start by underbuilding, add more clay, sometimes add too much, and then remove material until the forms feel right.
Rakes help with that last part. I can scrape away excess clay gradually while working across the surface.
Some of my rakes have thicker or wider cutting edges and remove material quickly. Others leave finer marks and are more useful once the larger shapes are established. I generally move from the more aggressive tools to the finer ones as the sculpture develops.
Screen Mesh for Surface Refinement
I use this for: Evening out small surface imperfections near the end of a sculpture.
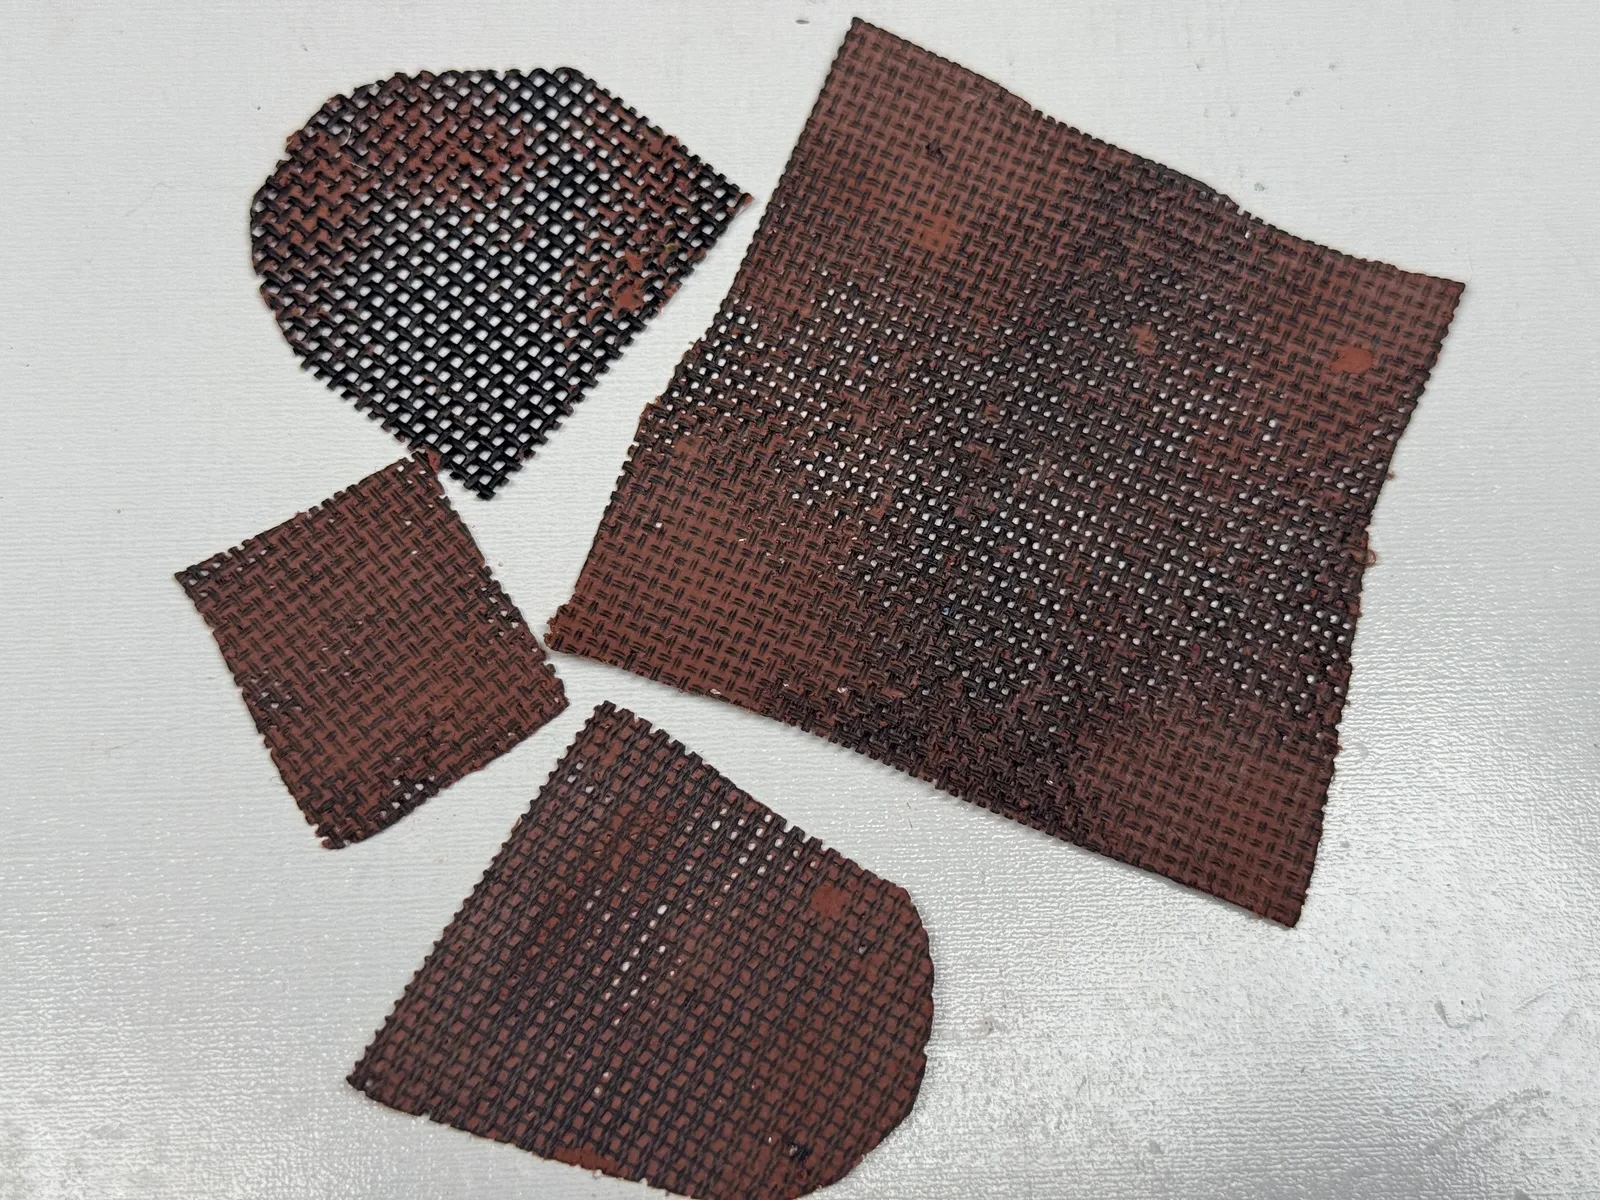
I keep a few small pieces of sculpting screen mesh for refining the surface of the clay.
The mesh helps even out small surface imperfections and leaves a fine texture. I tend to use it later in the process, when I'm happy with the forms and want to spend more time on the finish.
I once tried regular window screen material from Home Depot, thinking it would work the same way. In my experience, it didn't produce the finish I wanted. The sculpting mesh I use has a different weave and gives me a better result.
I don't take every sculpture to that level of refinement, but I like having it available.
Homemade Clay Sculpting Tools
I use these for: Carving and refining clay with shapes and flexibility suited to the way I work.
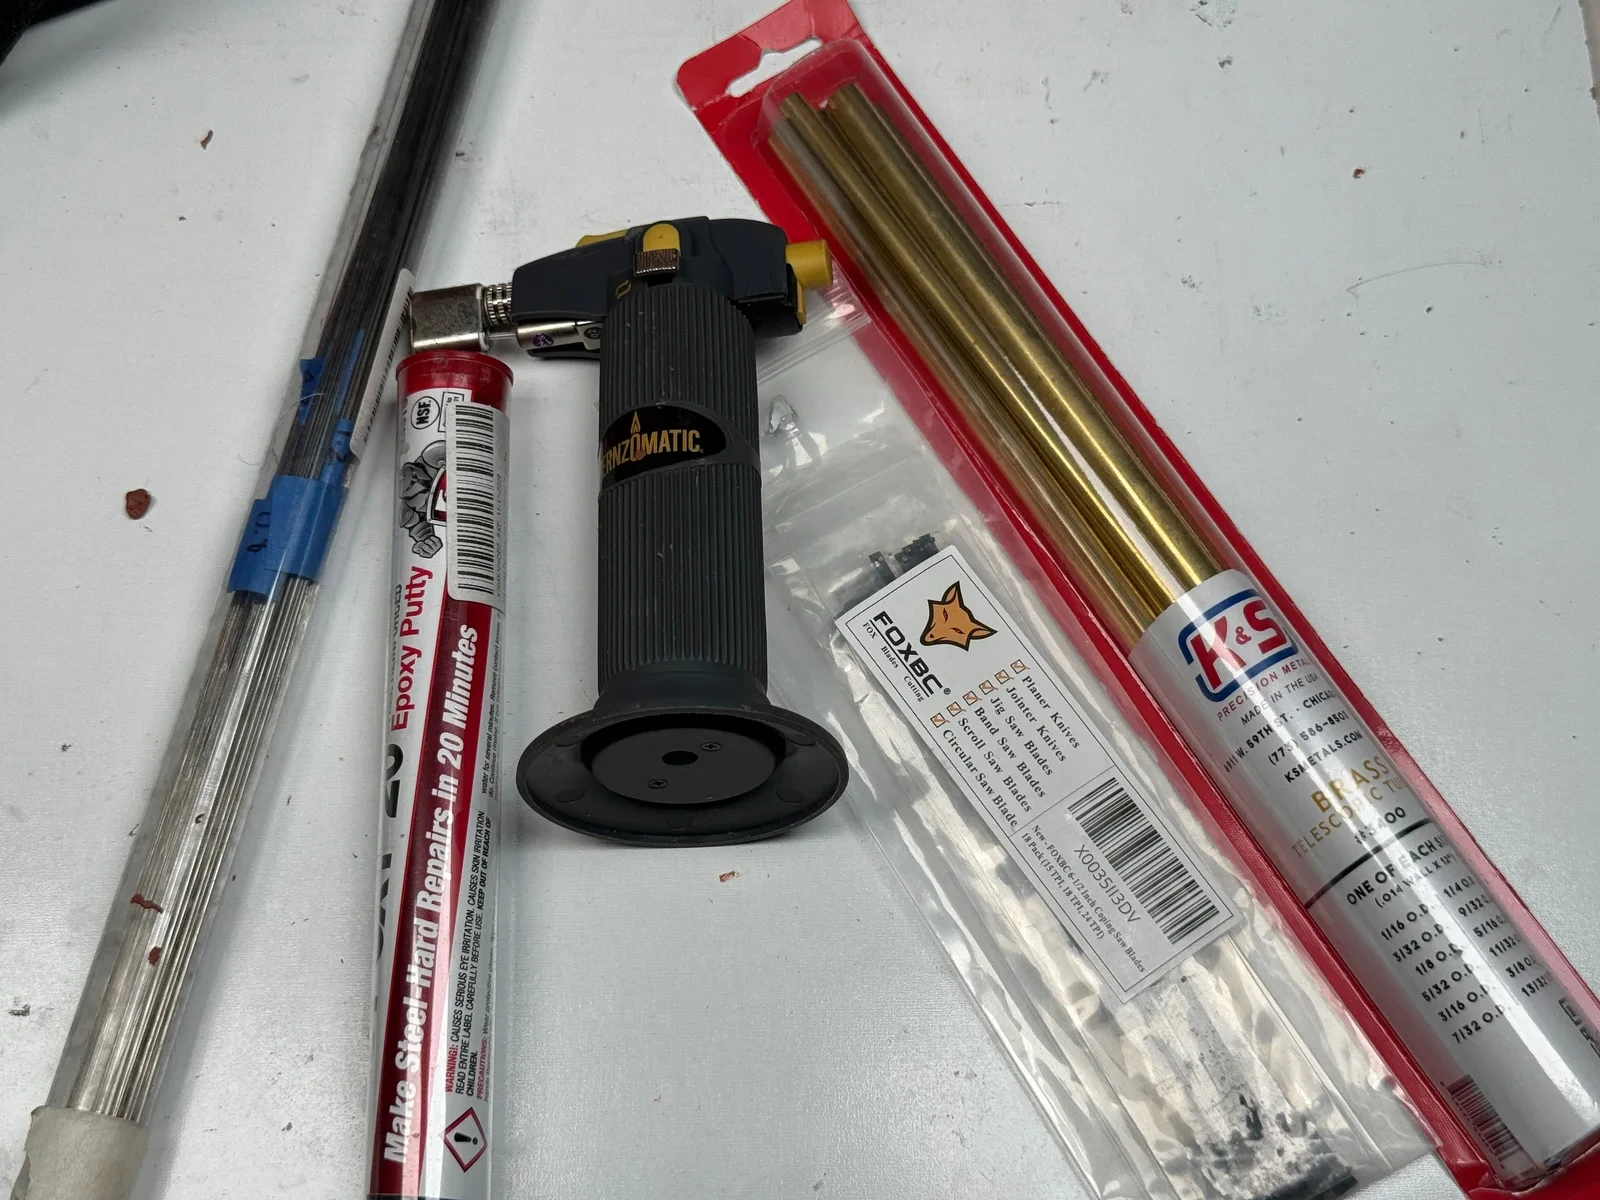
A good portion of my toolkit consists of tools I've made myself.
Making them gives me a way to experiment with different cutting edges, loop shapes, and degrees of flexibility. Some experiments work well enough to become regular tools. Others end up sitting in the kit.
For several of mine, I used brass tubing for the handles and a two-part epoxy putty to secure the working ends. I've tried scroll saw blades, guitar strings, and assorted wire.
One of my guitar-string tools leaves such a fine texture that I rarely find a reason to use it. Even when an experiment doesn't become a favorite, it helps me understand what I want from the next one.
My Favorite Twisted-Wire Tools
Two of the tools I use most often are made from twisted wire attached to brass tubes.
I bought wire in different thicknesses and used a drill to twist strands together. Each tool has two working ends: a flatter, slightly rounded shape and a smaller circular loop.
The thicker wire removes more clay and holds its shape better under pressure. The thinner wire is more flexible, so I use a lighter touch when refining a surface.
Loop size makes a difference too. A small loop tends to be more rigid, while a longer section of wire can bend more easily as I work.
These tools are relatively inexpensive to make, and they've become some of my favorites.
Materials for Homemade Tools
These are the materials I use. You can find the product links in the shopping list below.
- Brass tubing for handles
- Wire in assorted thicknesses
- Scroll saw blades
- Guitar strings
- Two-part epoxy putty to secure the ends
- A butane torch for heating the scroll saw blades
A separate tutorial would be a better place to walk through the construction process in detail.
The Tools I Use Most: My Hands
I use these for: Establishing the large shapes before getting into details.
Even with all these tools available, I can get pretty far into a sculpture using my hands.
I try to work from general to specific, establishing the larger shapes before getting into smaller features. My fingers are useful at that stage because they encourage me to keep working broadly.
A small metal tool makes it easy to start refining an eye or an ear before the surrounding forms are ready. Working with my hands helps me stay focused on the overall sculpture a little longer.
Once those larger forms are established, I move on to carving, raking, and refining.
Building a Toolkit That Works for You
My toolkit contains plenty of overlapping tools, but I keep returning to a handful that fit the way I sculpt.
If you're putting together your own kit, start with a few basics and pay attention to what you use. Over time, you'll get a better sense of the shapes, cutting edges, and flexibility you prefer.
And if you enjoy making things, homemade tools are worth experimenting with. Some of my most-used tools started as inexpensive materials and an idea I wanted to try.
You can see examples of my work in my sculpture portfolio.
If you'd like a closer look at how I make my homemade wire tools, let me know. I'd be happy to put together a separate tutorial.
Watch my sculpting toolkit walkthrough:
Shopping List
Some links below are affiliate links. As an Amazon Associate I earn from qualifying purchases.
Ready-Made Tools
DIY Tool Materials
- Brass tubing assortmentK&S 3400: 12 tubes, 1/16" to 13/32" OD, 12" length, 0.014" wall
- Scroll saw blades
- Stainless steel wire assortment
- SteelStik Steel Reinforced Epoxy Putty Stick
- Butane torch for heating the scroll saw blades before shaping them